Create a Sub-Account
To create a new Organization Sub-Account, start by navigating to Onboard > Accounts > + Create Account.

Onboarding > Accounts > Create Account
In the tab that appears, you will need to select the Parent Org Account, enter an Account ID, and Account Name. Optionally, enter a Website. Additionally you will find the following Configuration tabs with additional form fields: Aliases, Branding, Pages, Widgets, Shared Data, and Metadata.
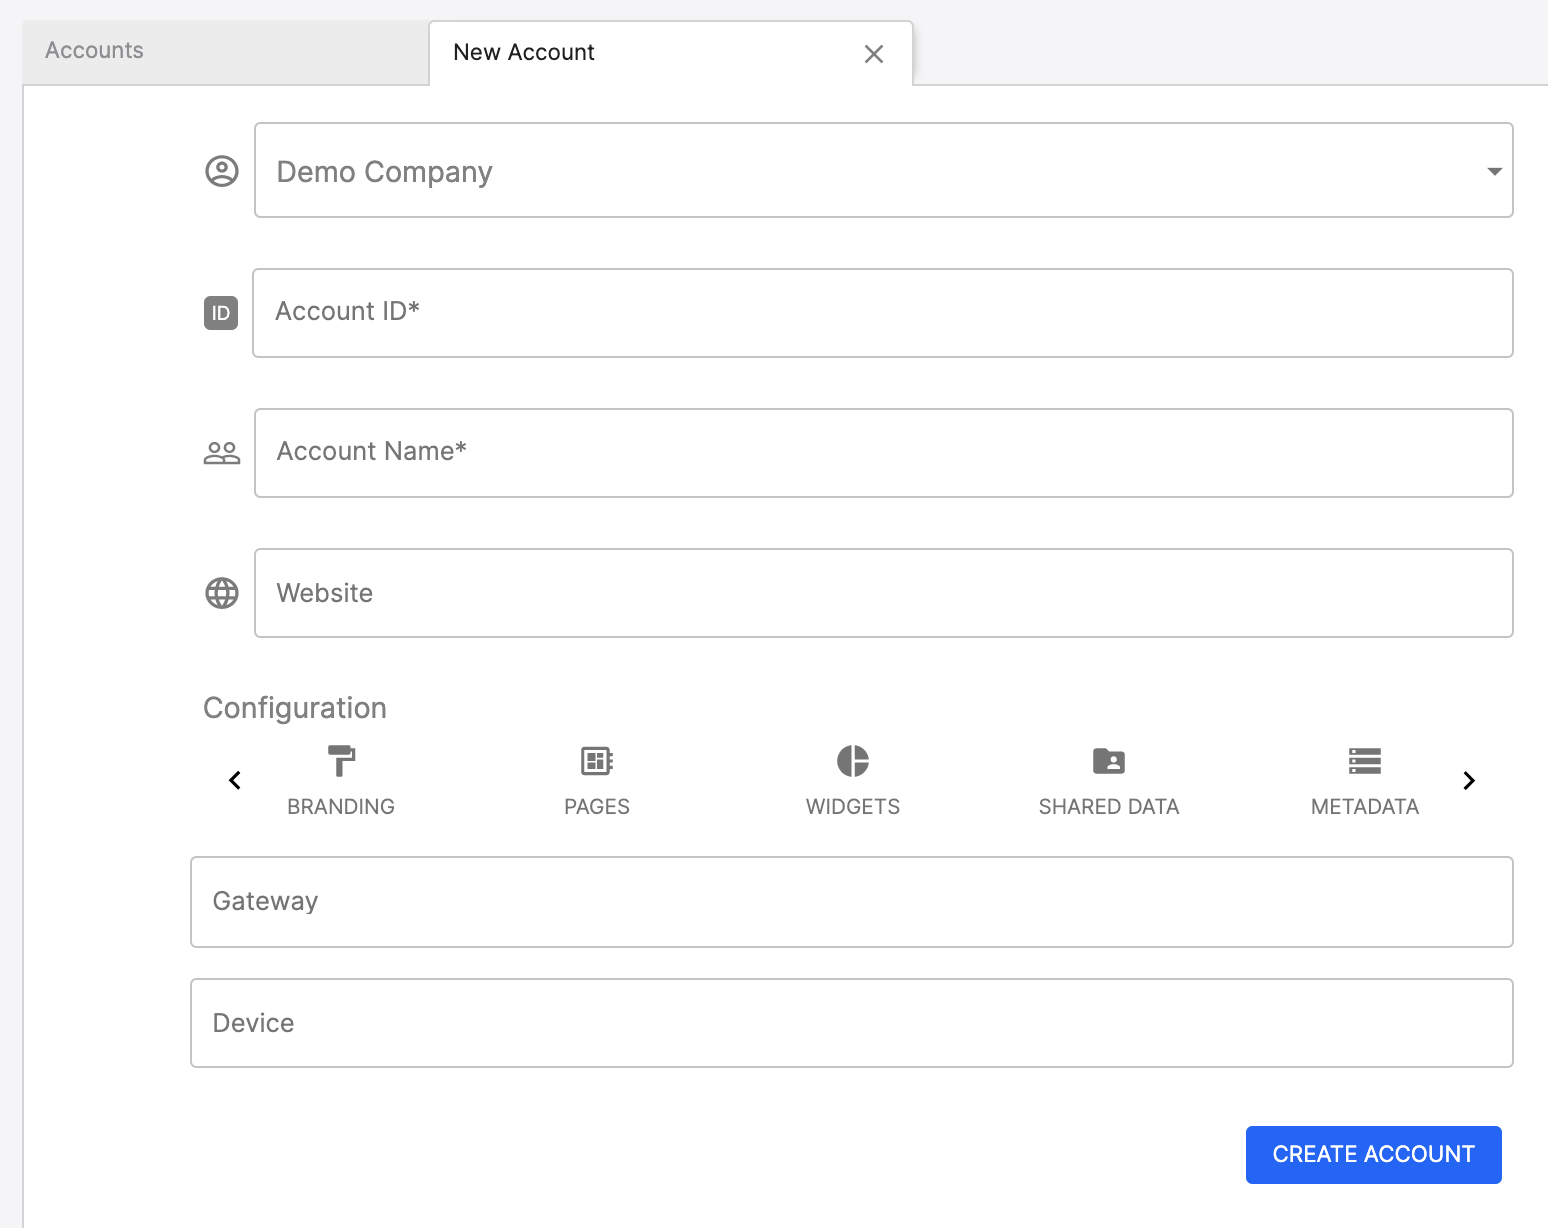
Account Creation - Main
To change the Branding options, select the Branding tab and then enter the Logo URL, Icon URL, Portal Title, and select a Primary Color and Logo Background Color.
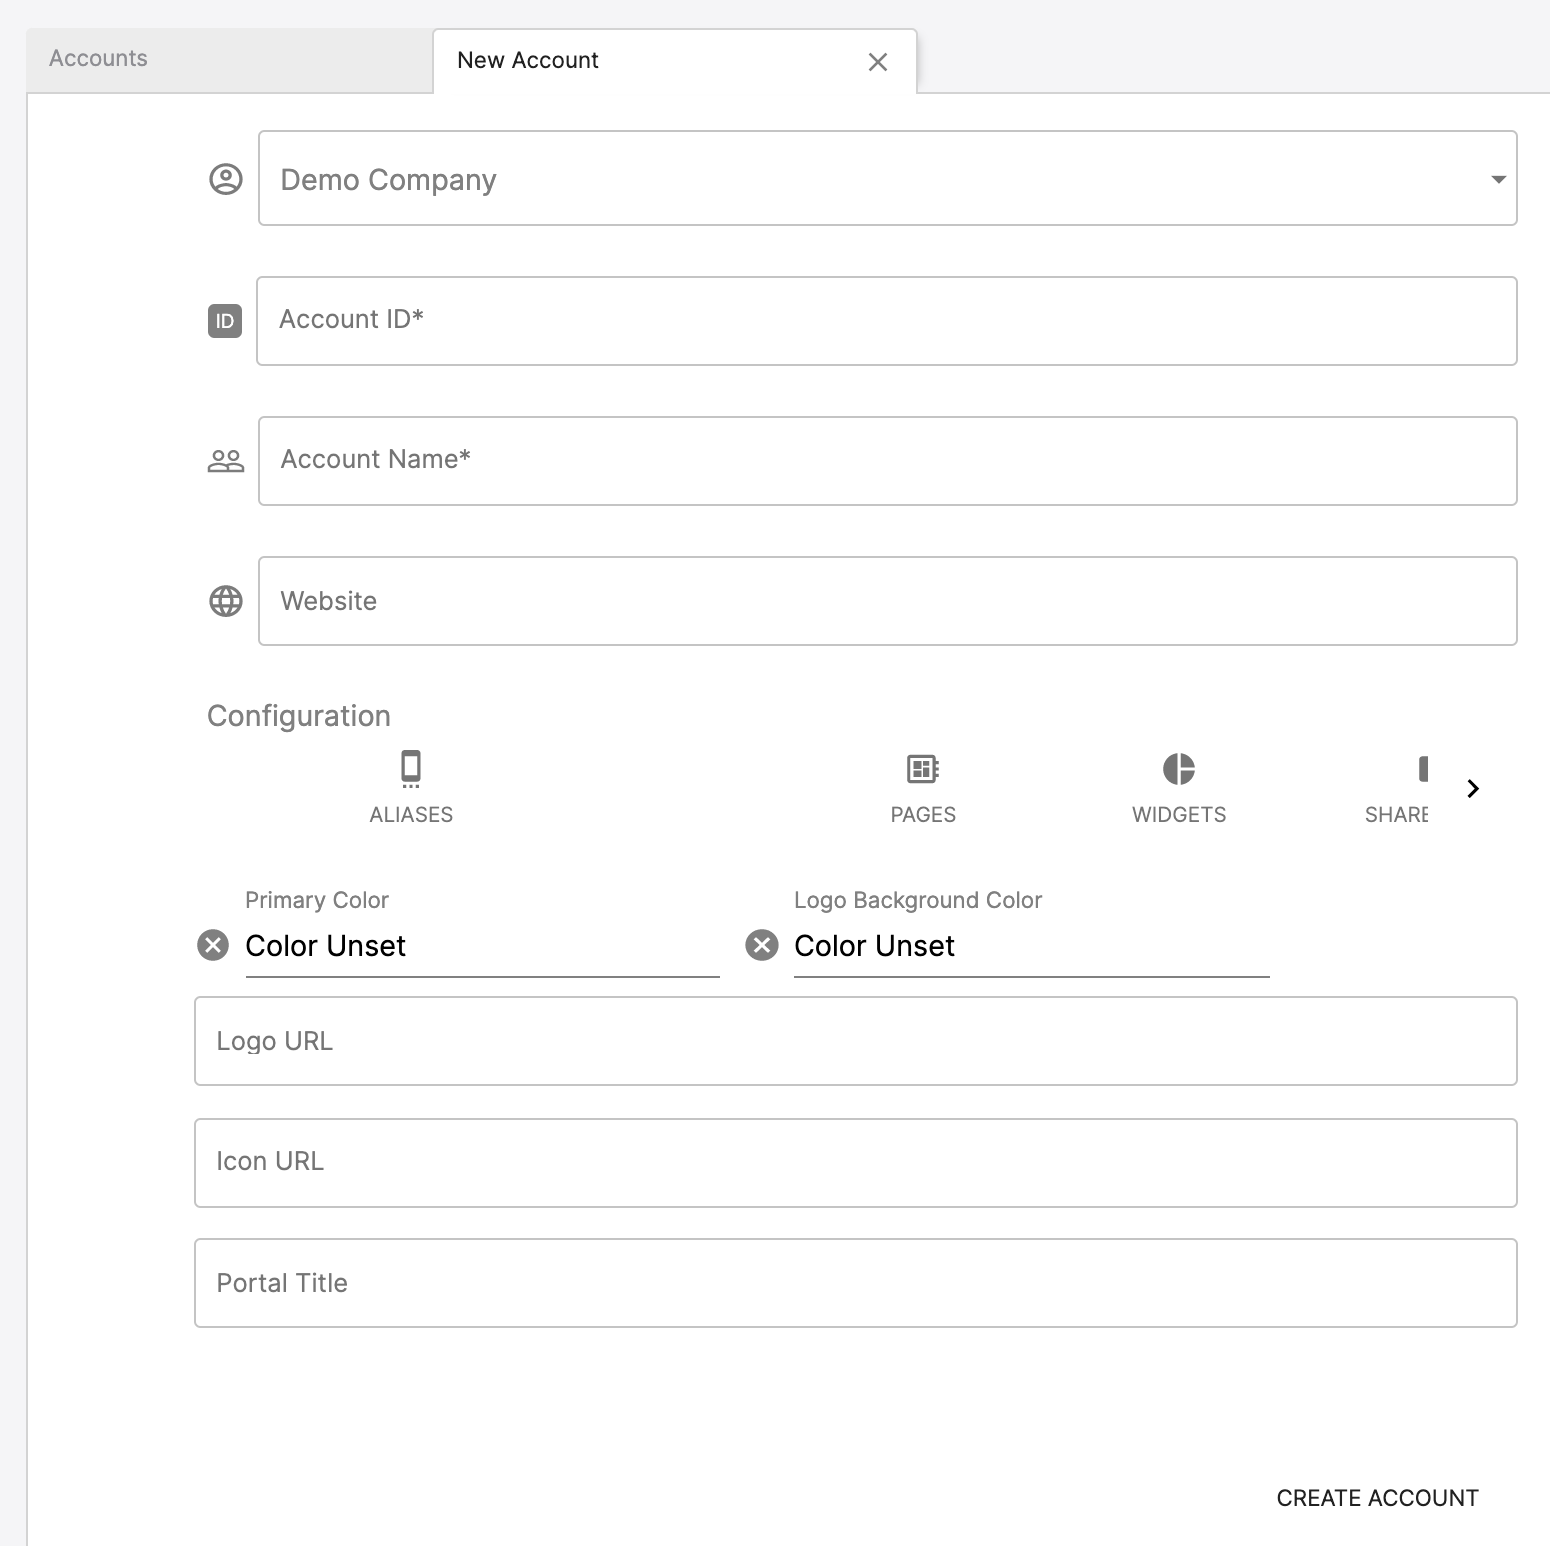
Account Creation - Branding Tab
To change Page options, select the Pages tab. You will be presented with a list of pages which you can toggle on or off for the account.
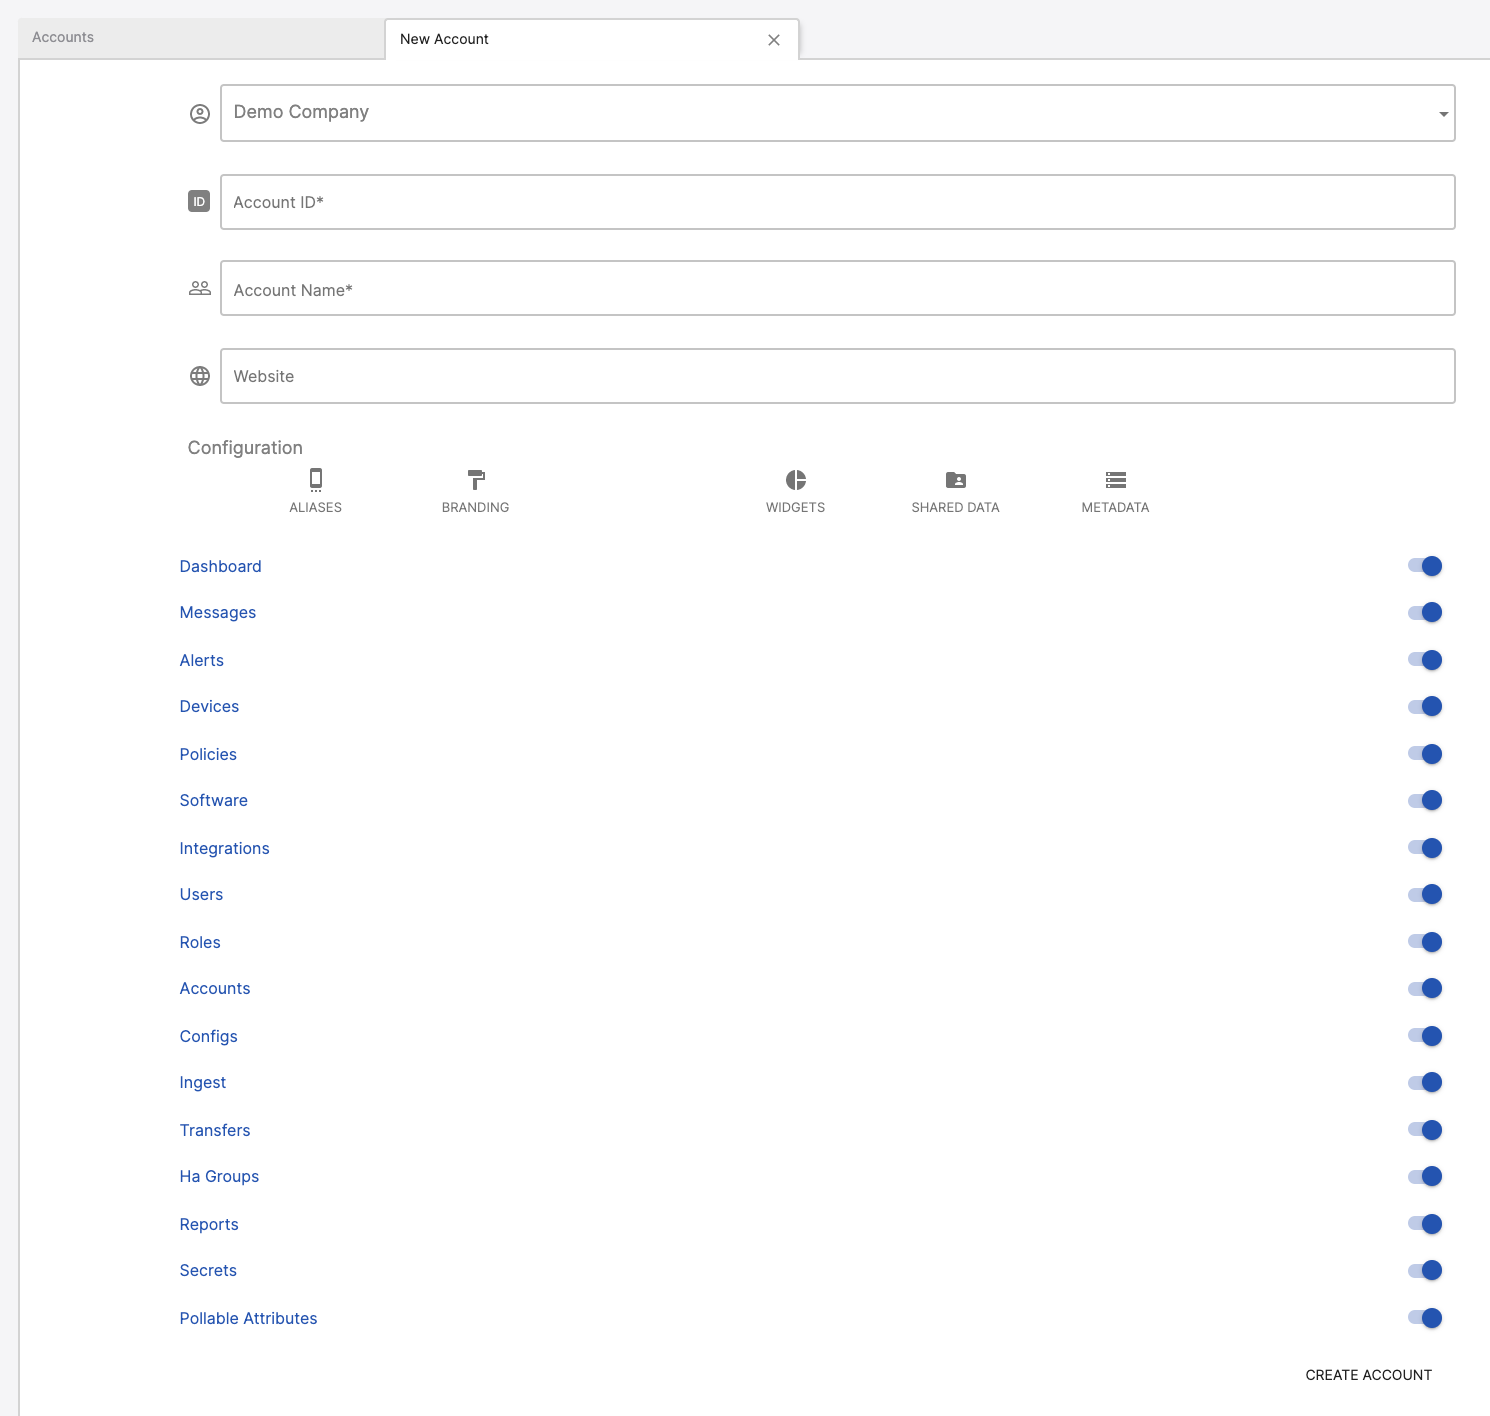
Account Creation - Pages Tab
To change Widget options, select the Widgets tab. You will be presented with a list of widgets which you can toggle on or off for the account.
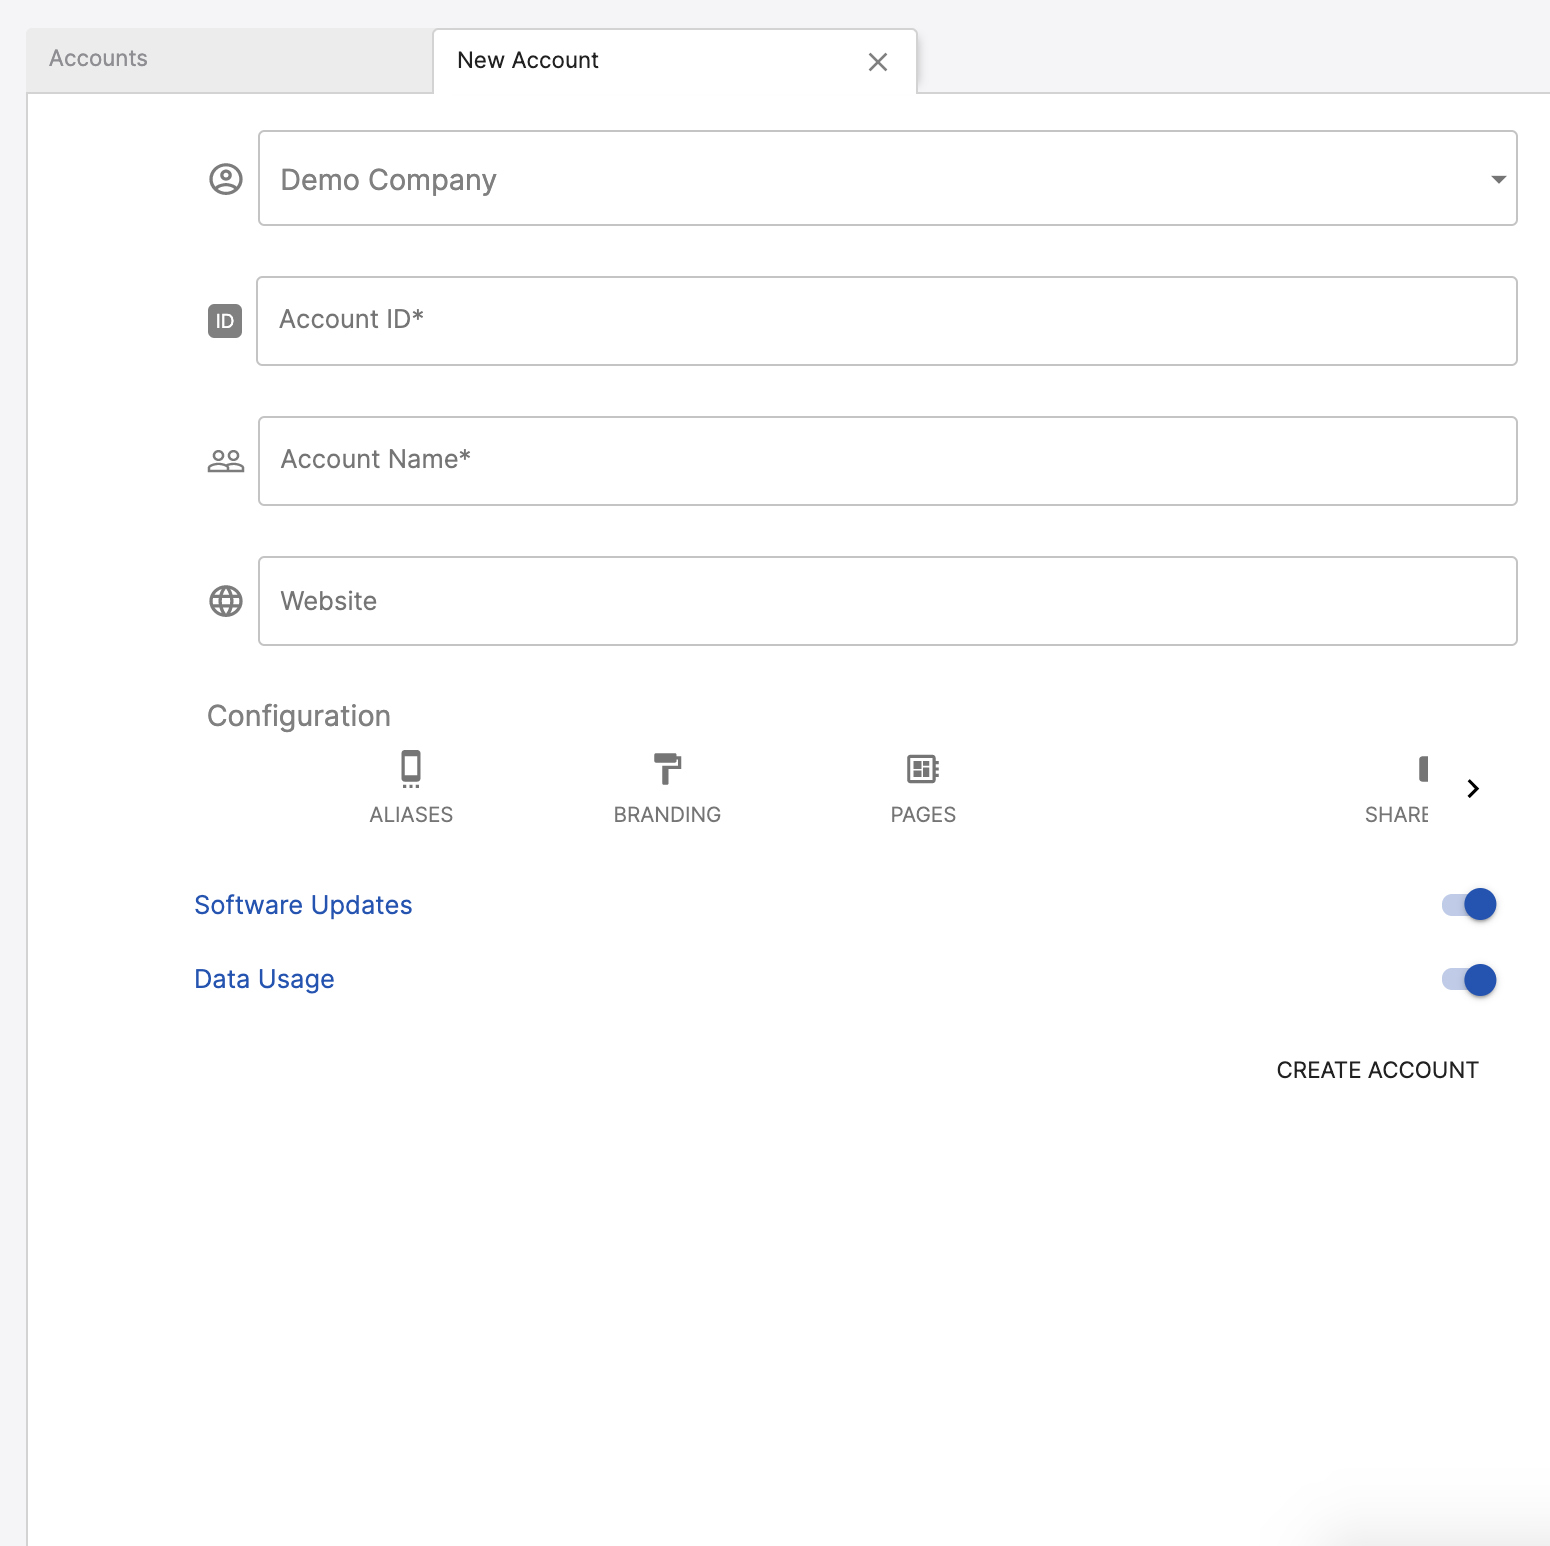
Account Creation - Widgets Tab
To manage Data Sharing for the account, select the Shared Data tab. In the form that appears, you will be able to share Device Types, Integrations, Ingestors, Translators, Pollable Attributes, and Policies
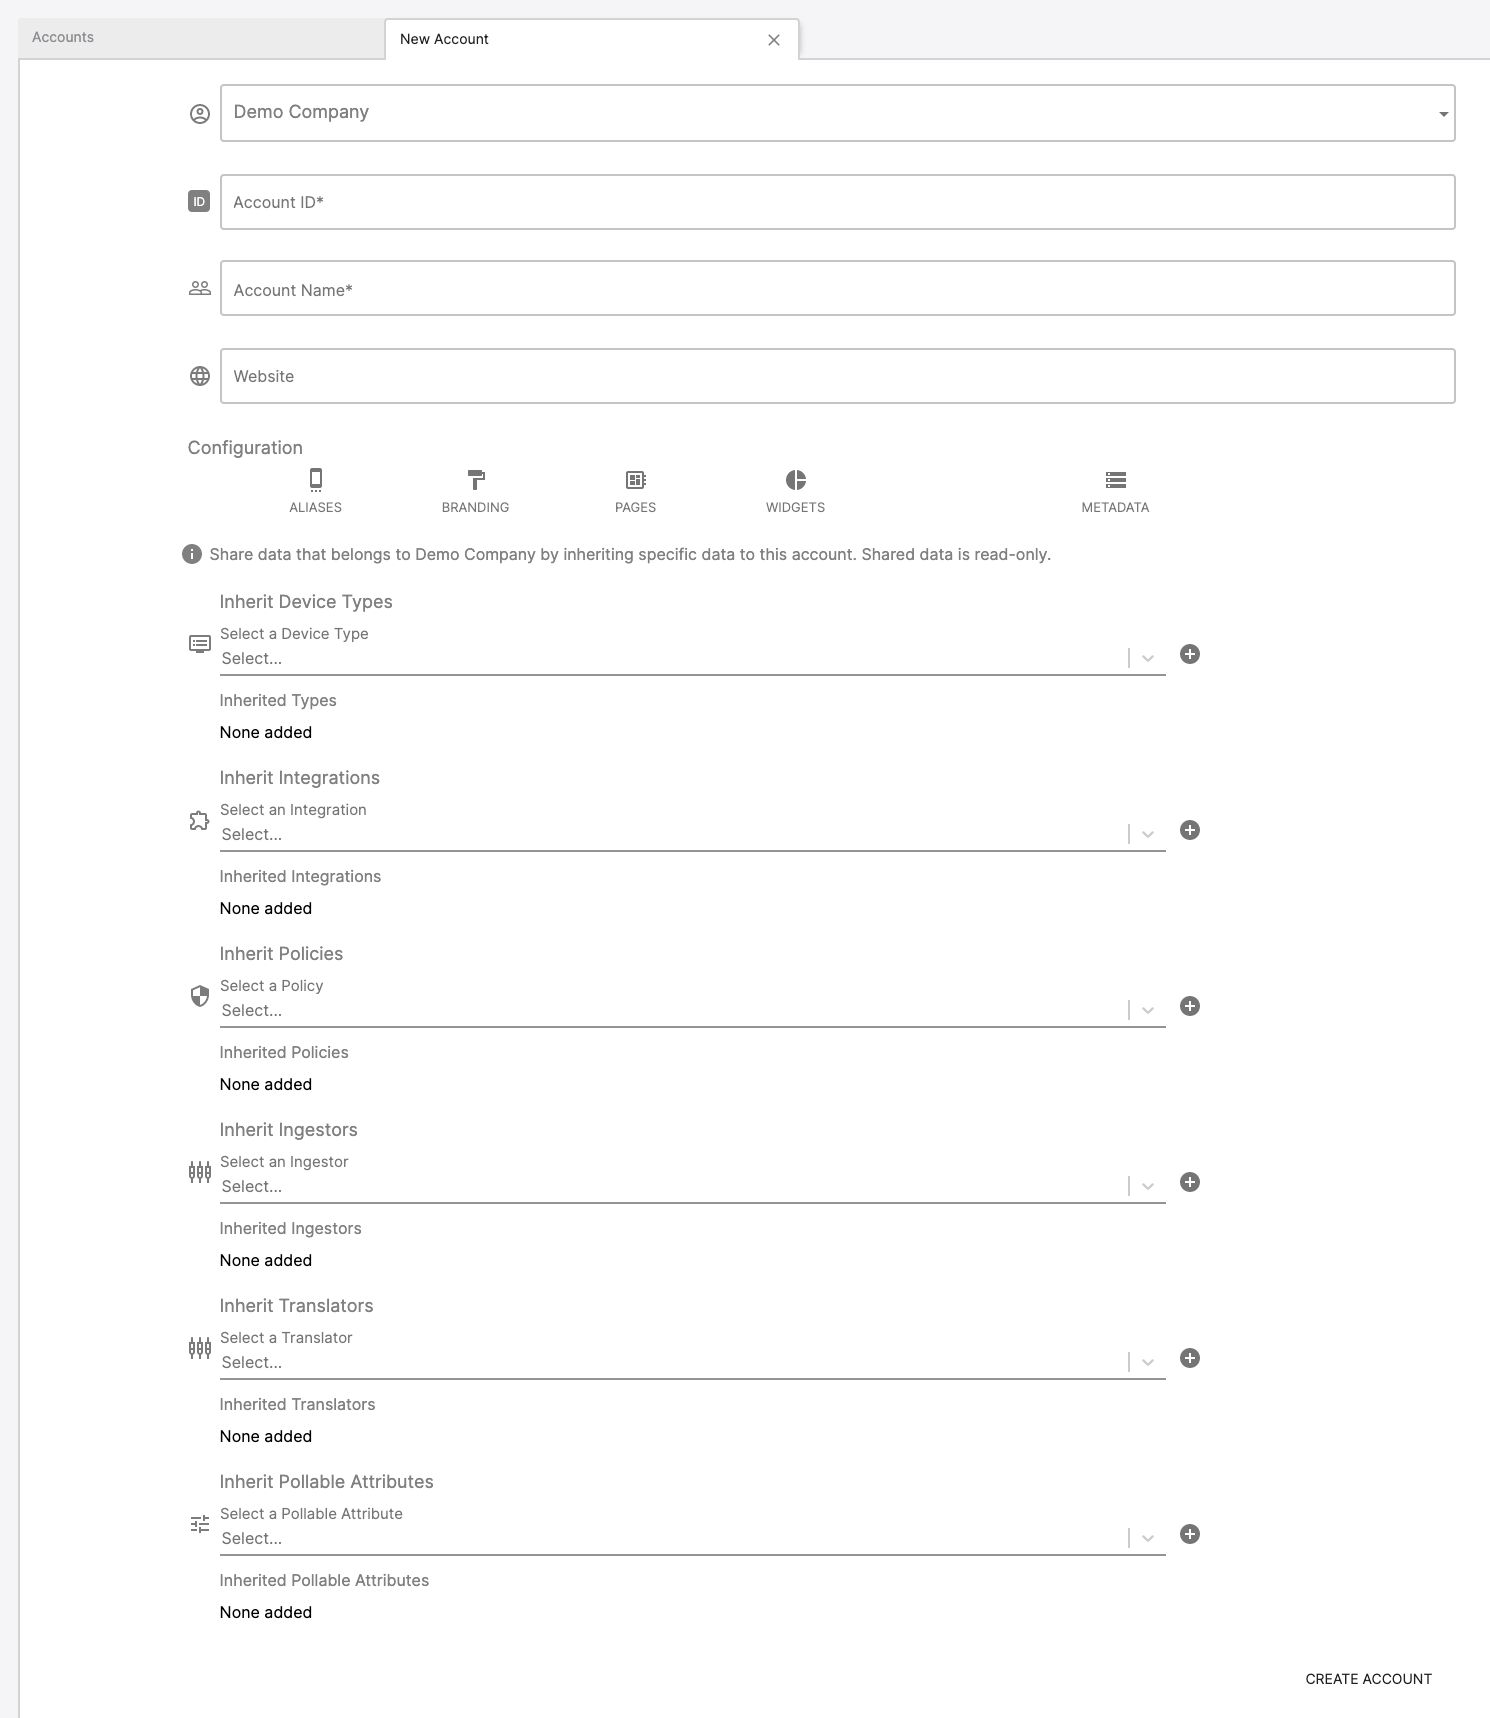
Account Creation - Sub-Account Data Sharing Options Tab
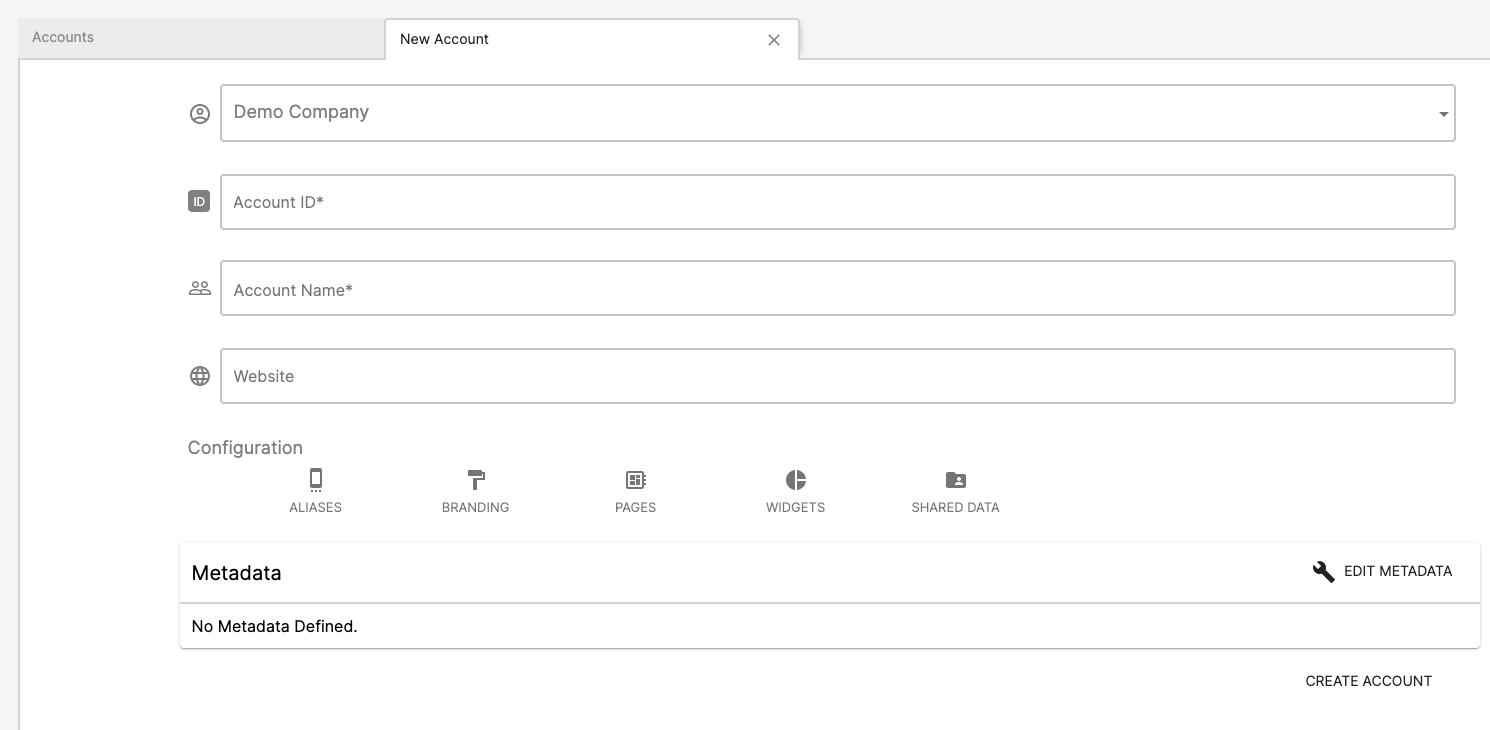
Account Creation - Metadata
Updated 5 months ago