Create a Gateway Device Configuration
Steps on how to create a gateway device.
The second step in onboarding your device is to define the device and associate it with the device profile that you just created. From the left navigation menu, click Devices > All Devices . Then click + New Device located at the top right corner.

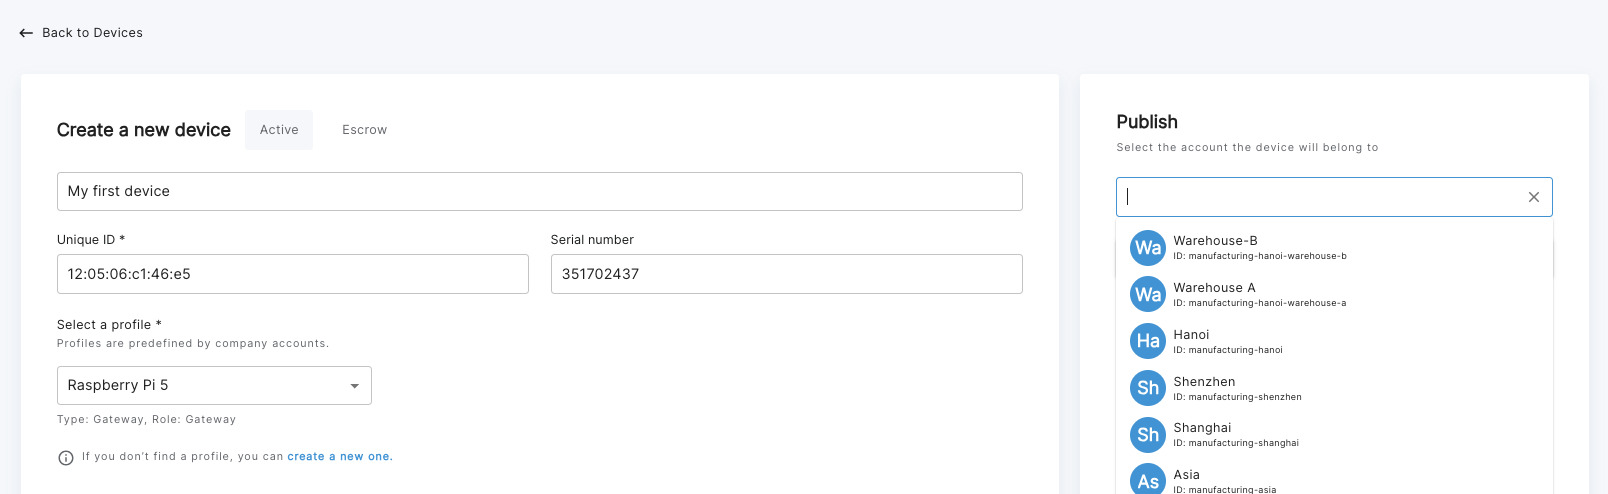
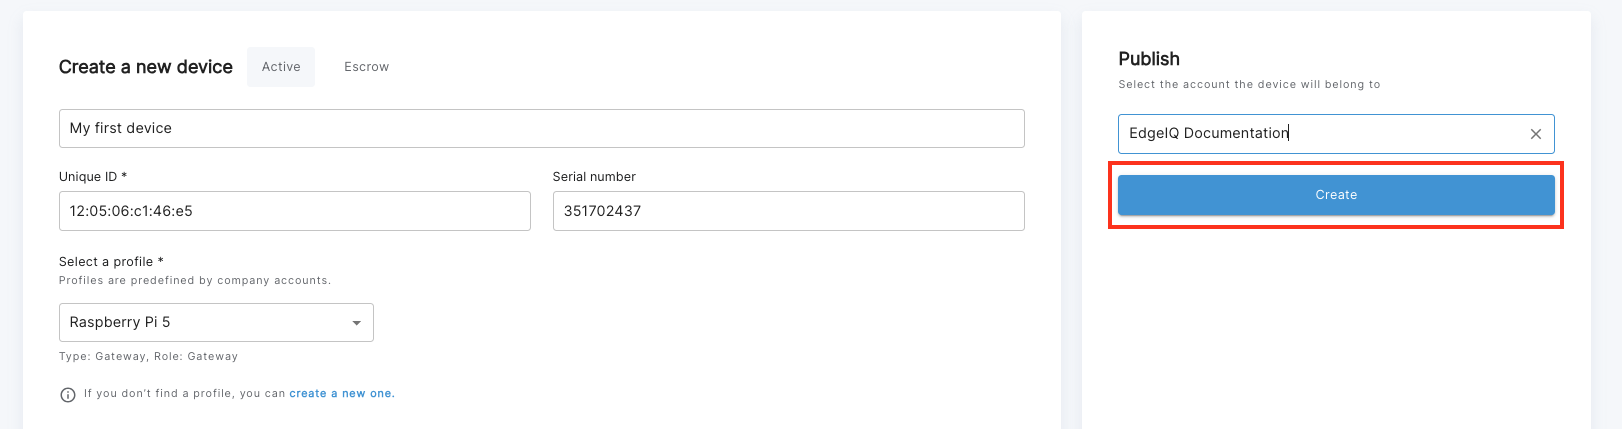
At the Create a new Device Page, type in the device Name, Unique ID, and Serial number (if applicable). Set the Device profile to the profile previously created in the step above. Also, if you have multiple sub-accounts, choose the Organizational Account or the target account that the device will be published in under the Publish dropdown.
When setting up a gateway device that can have the EdgeIQ Local Service Coda installed on it, set the Unique ID of the device to the MAC address of the gateway. This means the uniqueID need not be mentioned explicitly during installation of Coda as it will default to the MAC address.
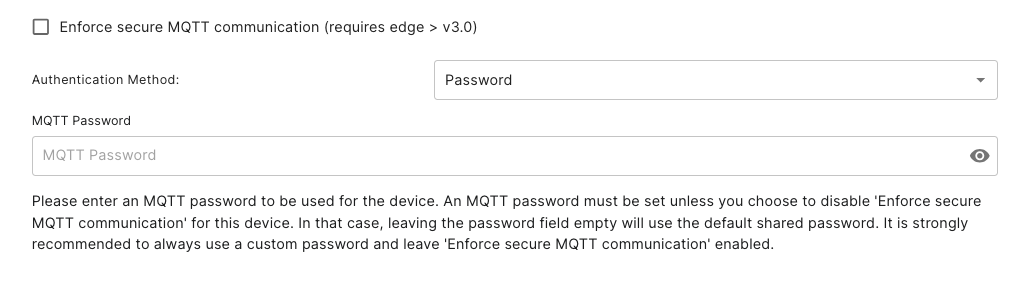
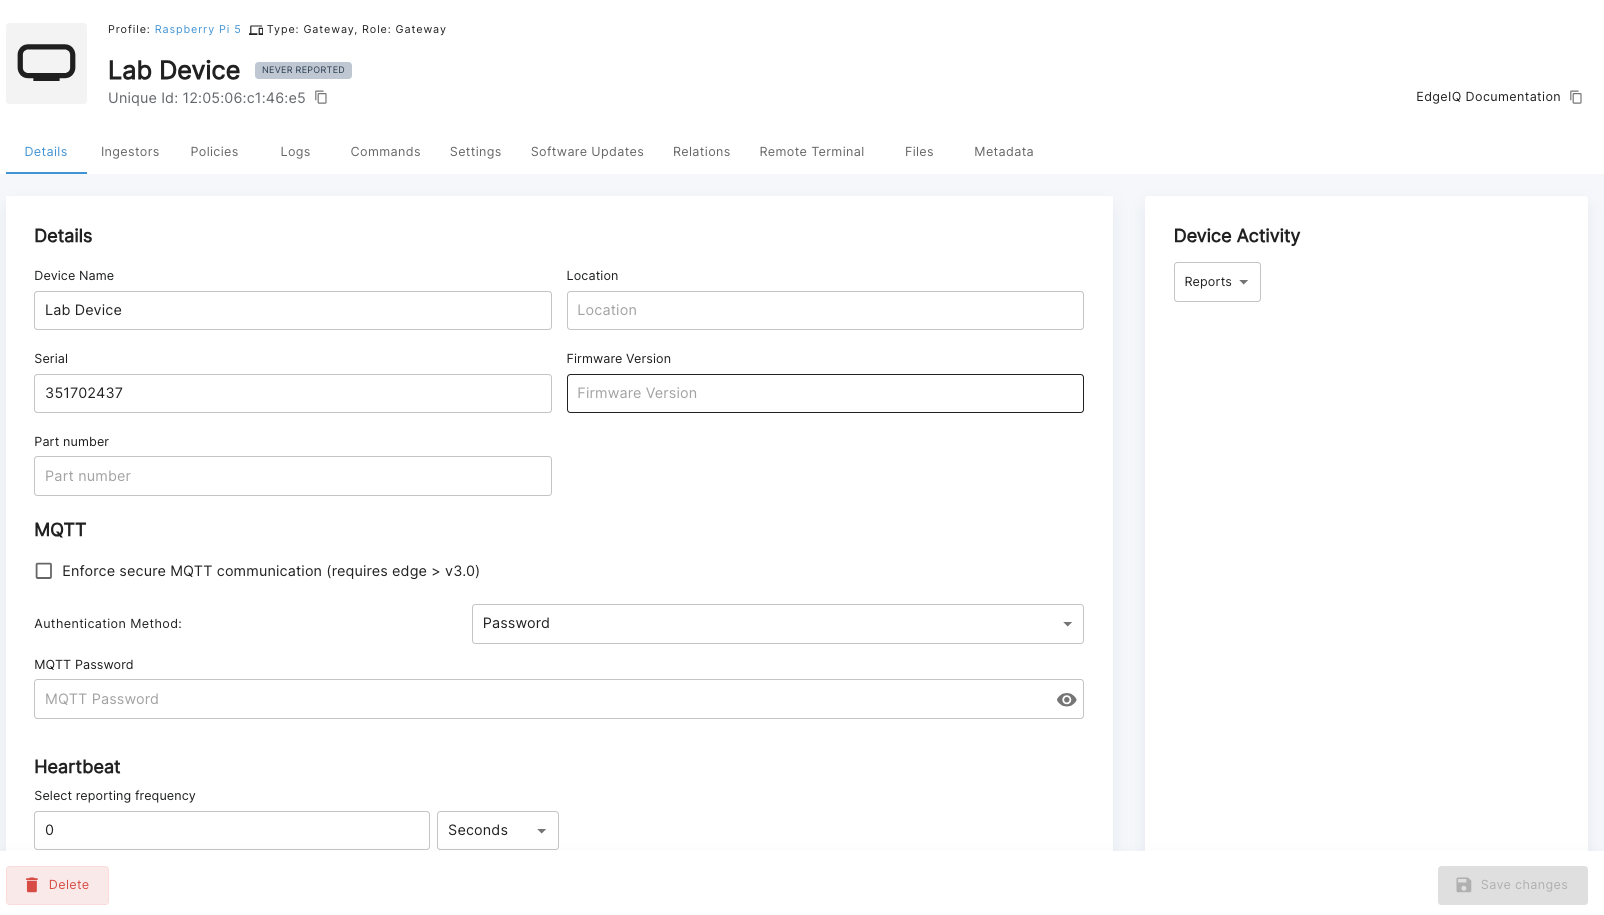
EdgeIQ Coda provides an additional layer of security at the Edge by allowing the option to further enforce secure communication over MQTT. This can be done by setting a device specific password or through a certificate based authentication method. Please note that for password based authentication, leaving the password blank allows Coda to use the default password for communication over MQTT. Please contact [email protected] if you are interested in setting up Certificate Based Authentication for your devices.
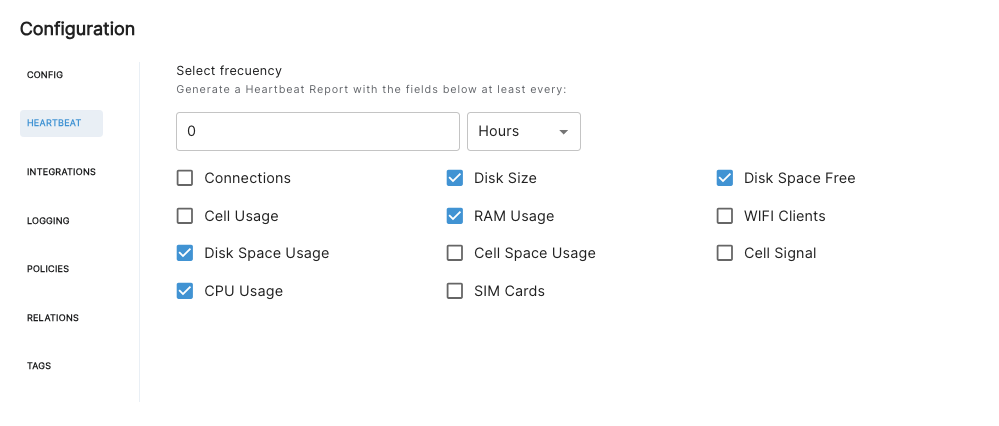
Scroll below to the Configuration section and set the Heartbeat period to the desired time. For this example we will set the heartbeat period to 30 seconds. You can optionally customize the contents of the Heartbeat Report by selecting the desired fields.
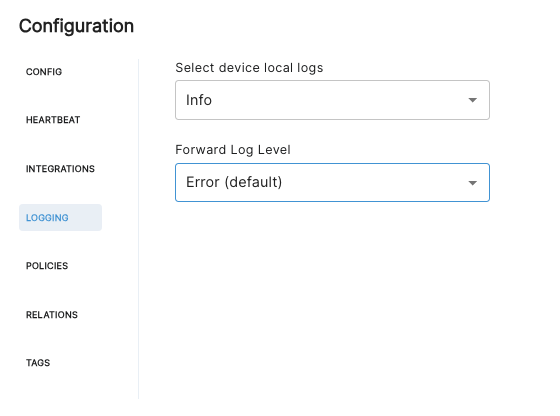
Optionally, choose the type of Local Logs and Forwarded Logs.
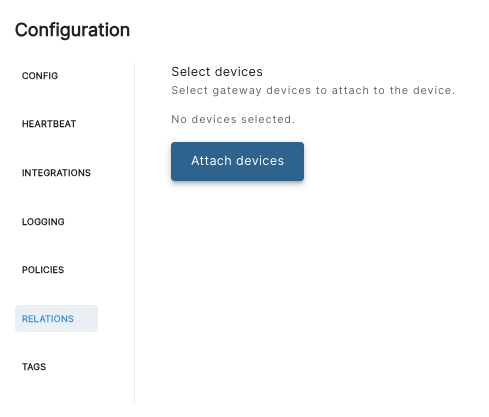
In the Device Relations tab, you define a gateway-endpoint relationship, if it's applicable in your case.
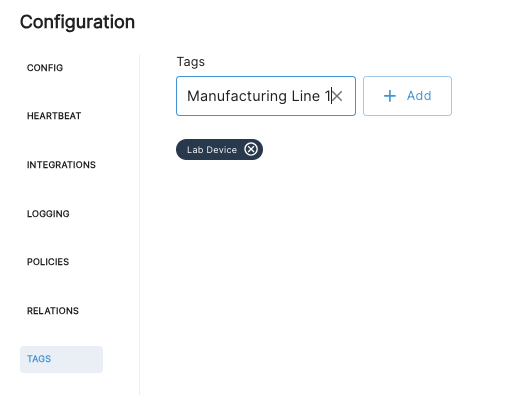
Finally, type in any tags that you want to associate with your device. Eg: Lab Device, Manufacturing Line 1
Finally, scroll up to the top of the page and review the entire device configuration. If everything looks good, click the Create button to create your device.
Once you press create, the configuration of your gateway device is complete. You should be able to view the newly created device on the All Devices page.
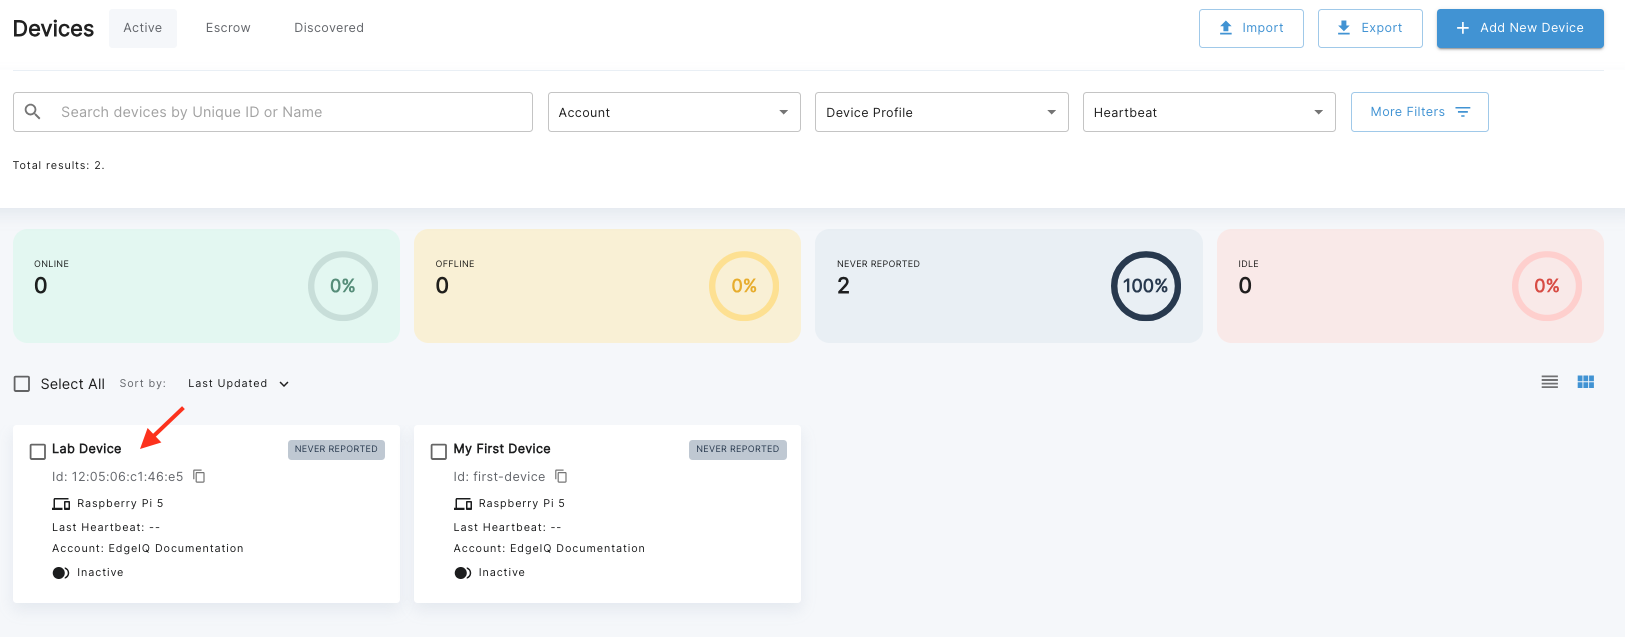
You can view your newly created device by clicking on the Device's Tile.
Please note that all device configurations are editable except for the unique ID of the device which cannot be modified once set.
Updated 10 months ago