Perform a Bulk Import of Devices
In order to provision a set of devices in bulk, EdgeIQ has a few methods for creating a number of devices in the system at once. The most flexible and programmatic way to create multiple devices is through the API, but CSV functionality through the web app is available as well.
Before importing devices, you will need to create a CSV file with information formatted into the following columns.
| Position | Field | Description |
|---|---|---|
| 1 | Name | Device name |
| 2 | Unique ID | Unique identifier of device. Please note that unique id is case sensitive, and unique ids for gateway type devices should be all lowercase if using the default auto discovered unique id (MAC address). |
| 3 | Serial Number | [Optional] An optional serial number for the device |
| 4 | Location | [Optional] A string describing the location of the device |
| 5 | Company ID | ID of the company account for this device |
| 6 | DeviceType ID | The ID of the device type for this device |
| 7 | Heartbeat Period | Heartbeat period in seconds |
| 8 | Cellular Number | [Optional] Cellular number associated with device |
| 9 | SMS Command Password | [Optional] Password for issuing commands via SMS |
| 10 | DeviceConfig ID | [Optional] ID of configuration to apply to these devices |
| 11 | Active | [Optional] true or false to mark the device active or inactive |
| 12 | Heartbeat Values | [Optional] A comma separated list of values to send along with heartbeat messages. Must be surrounded in quotes, e.g. "disk_size,disk_free" |
| 13 | Device Integration ID | [Optional] ID of a device integration to assign to the device |
| 14 | Cloud Native Integration ID | [Optional] ID of a cloud-native integration to assign to the device |
| 15 | Parent Device ID | [Optional] If the device is a sensor type device, or endpoint, the ID (not unique ID) of the parent device |
| 16 | Tags | [Optional] Semicolon delimited list of tags to apply to this device, e.g. tag 1;tag 2 |
| 17 | Metadata | [Optional] Metadata to apply to this device. Semicolon delimited, colon separated key value pairs, e.g. Current Firmware:v1.5;Color:blue |
| 18 | Delete? | [Optional] In order to bulk delete, you may put true in this column. The device will be deleted |
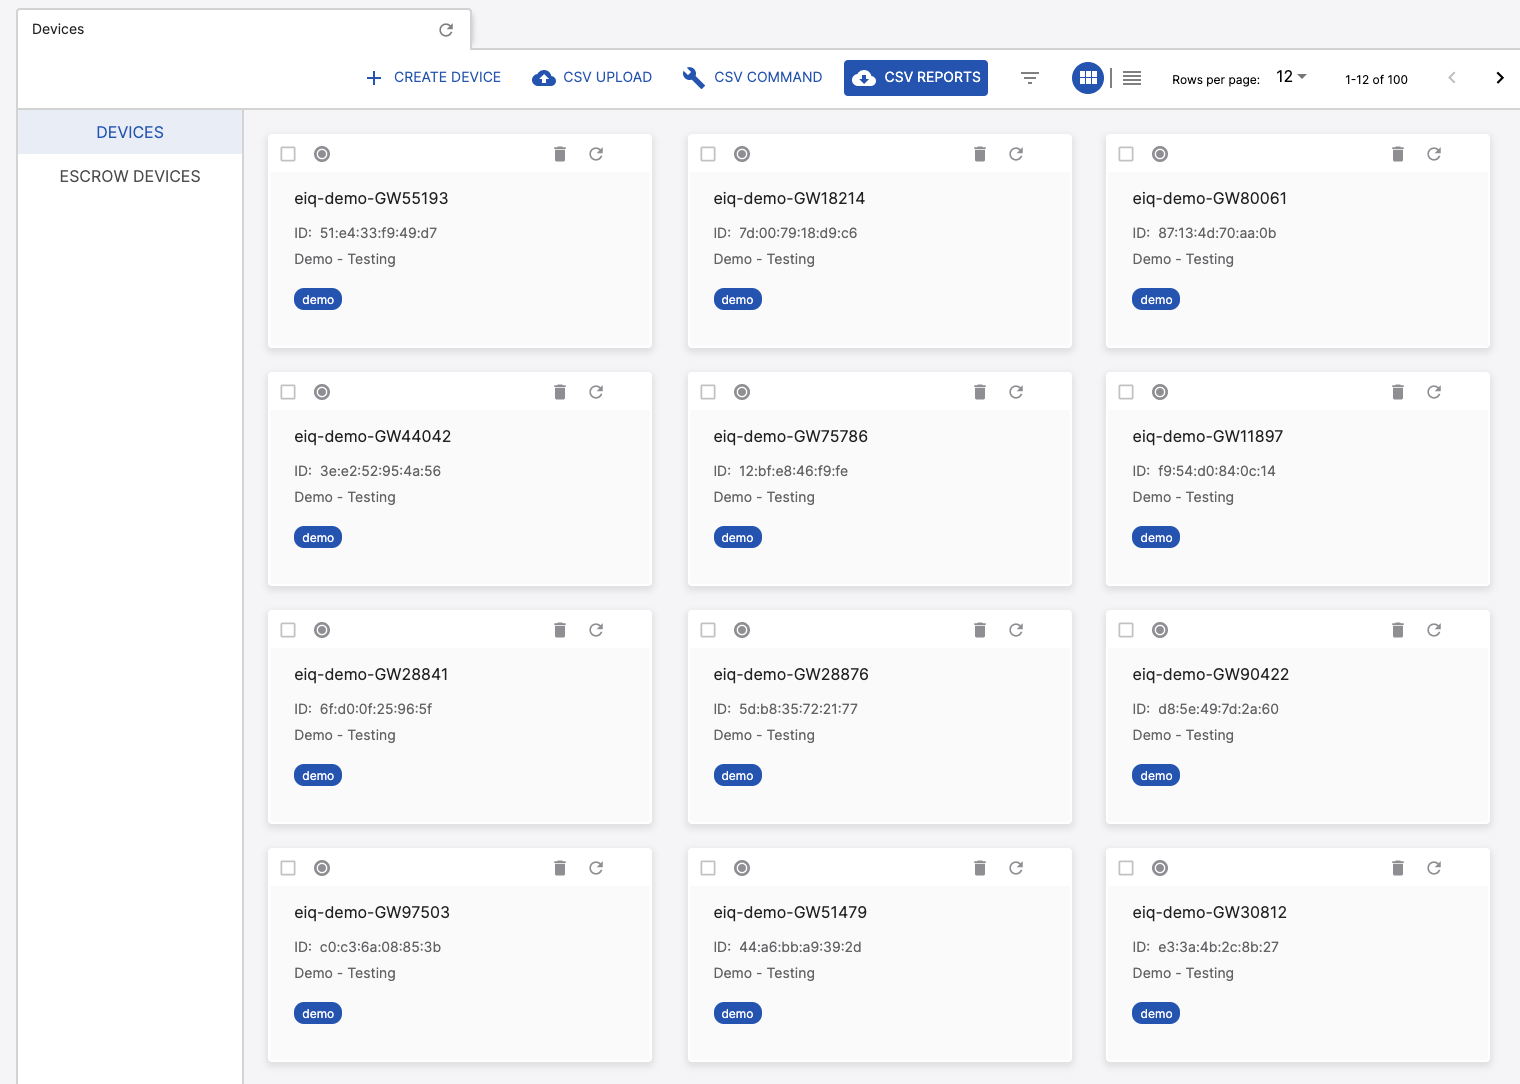
Once you have your CSV ready with the necessary information, navigate to DeviceOps > Devices and select CSV Upload.

Select Upload Files and locate your CSV file for import, then select Submit.

You should receive confirmation that your upload was successful.

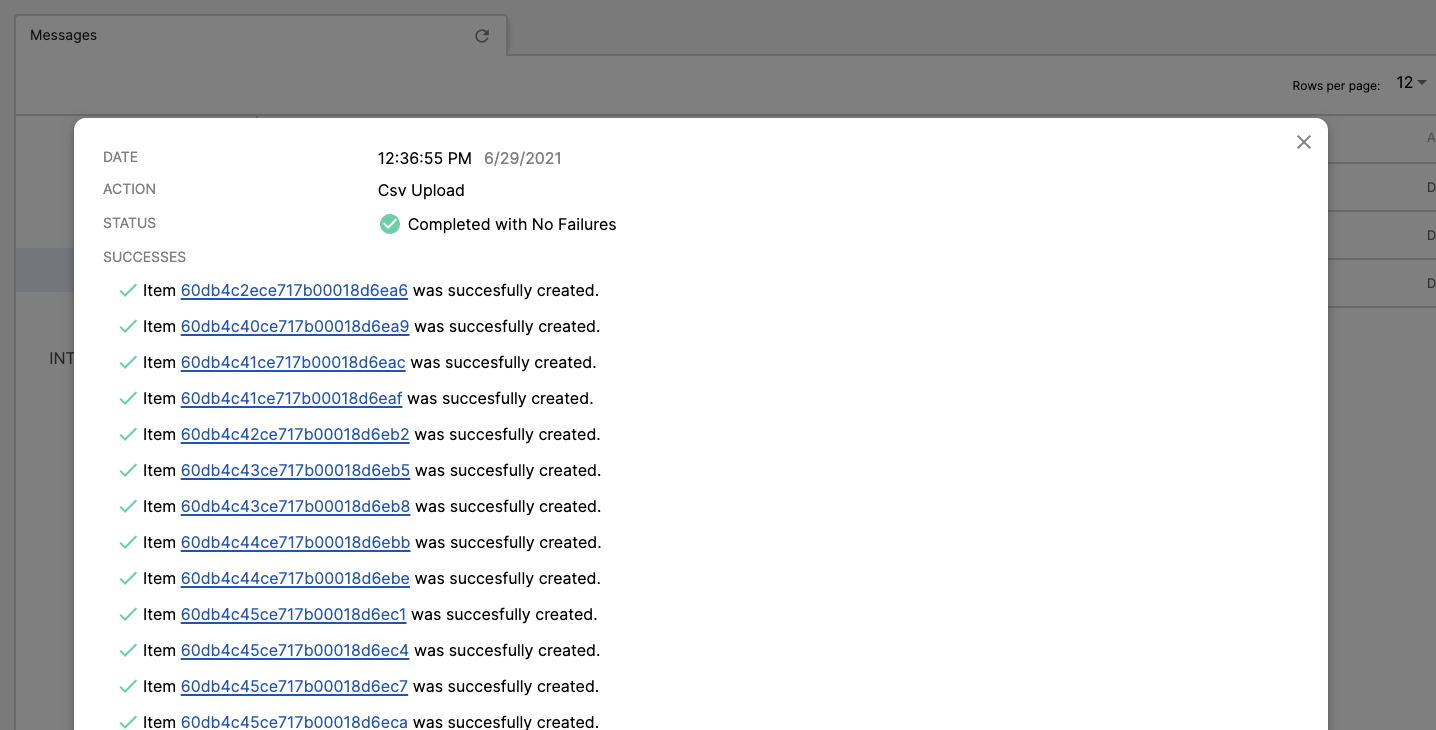
If you select Monitor the onboarding process here you will be brought to the Messages page for Bulk Uploads and can check the status of your upload by selecting View Details.

Once your import is complete you will see a green checkbox next to it under Summary in the table.


Upon successful upload, you will be able to navigate to DeviceOps > Devices and see your new devices listed there.

Updated 5 months ago