Connect your first device
You can get going quickly with EdgeIQ by performing a few simple tasks:
- Get your first device online
- Issue your first software update
- How to transfer a device or escrow
- Configure device logging and pull logs
- Configure your first sensor data ingestor and policies
- Configure an alert policy
Learn how to do these tasks in the sections below.
First, you’ll need to add a device type. Then, you add a device that corresponds to this type. In our example here, we will enter a Raspberry Pi as a gateway device type.
Add a device type
Follow these steps to enter a device type:
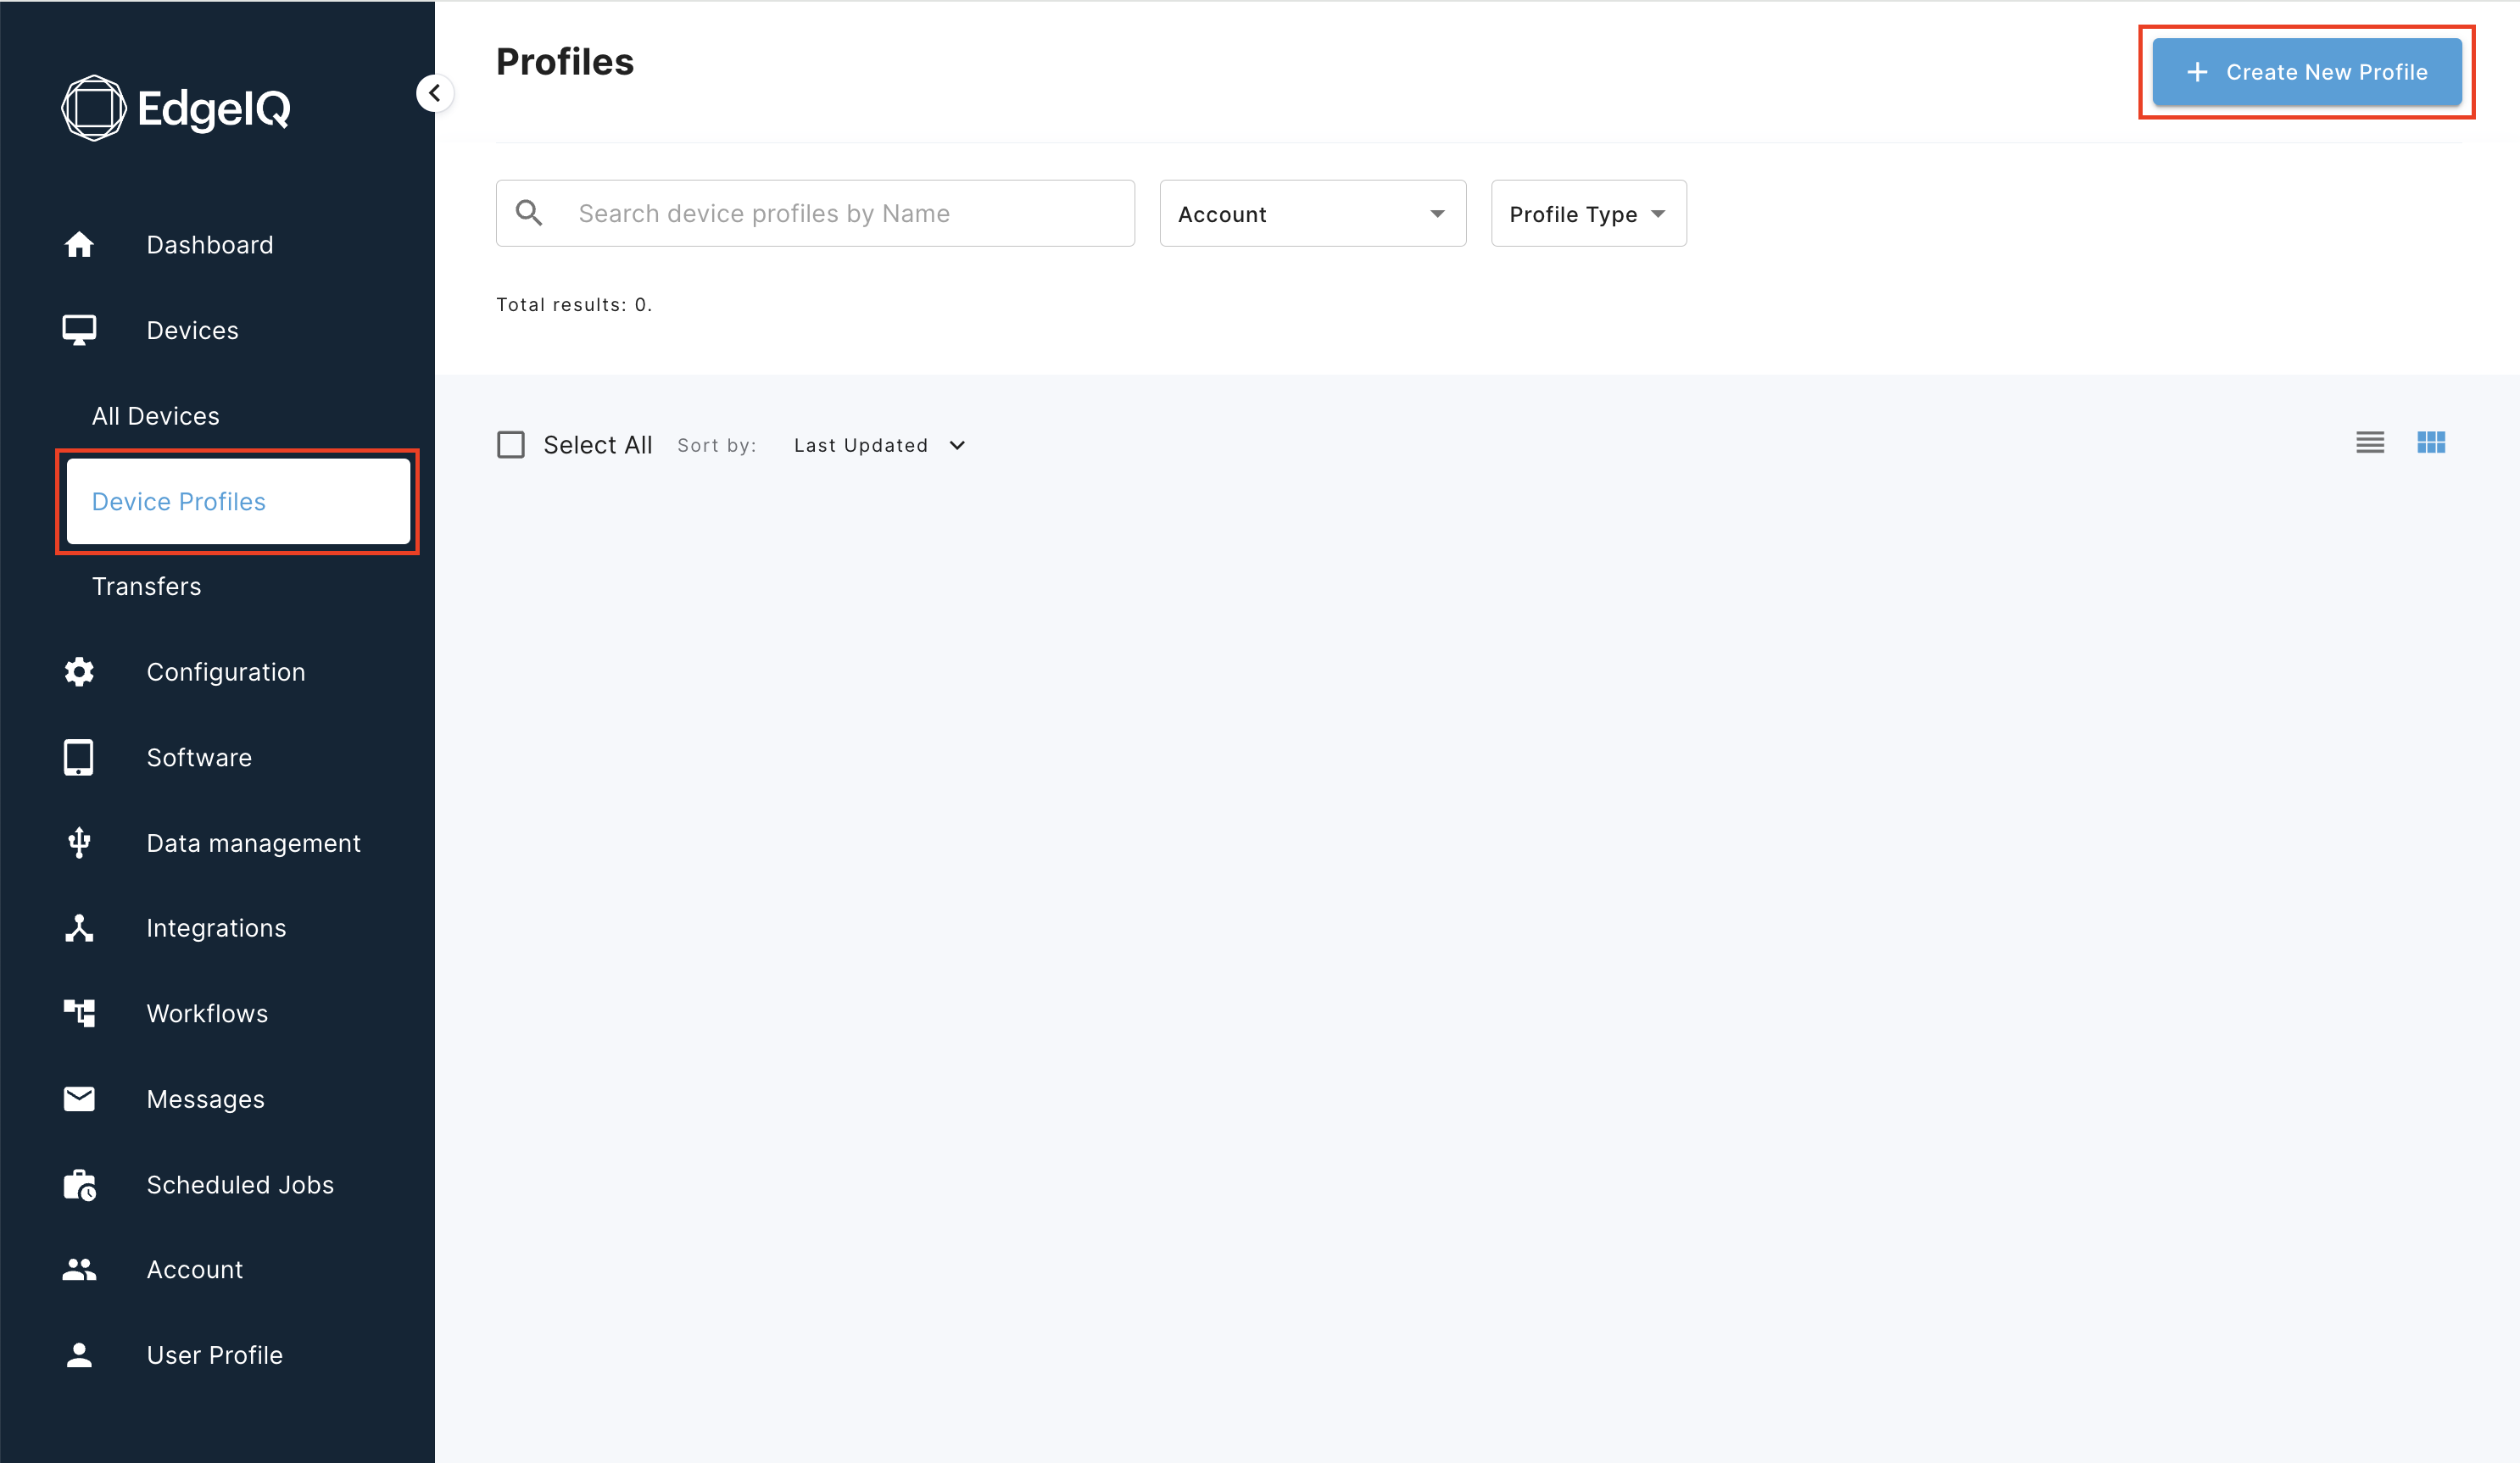
Step 1 — In the menu, navigate to Devices > Device Profiles.
Step 2 — Click the small + Create New Profile button at the top of the page.
Step 3 — In the popup window, enter a Name, Manufacturer, and Model.
Step 4 — From the Type drop-down, choose a Type. The default, Gateway is suitable for all devices using the EdgeIQ Coda local agent, choose Gateway for this example.
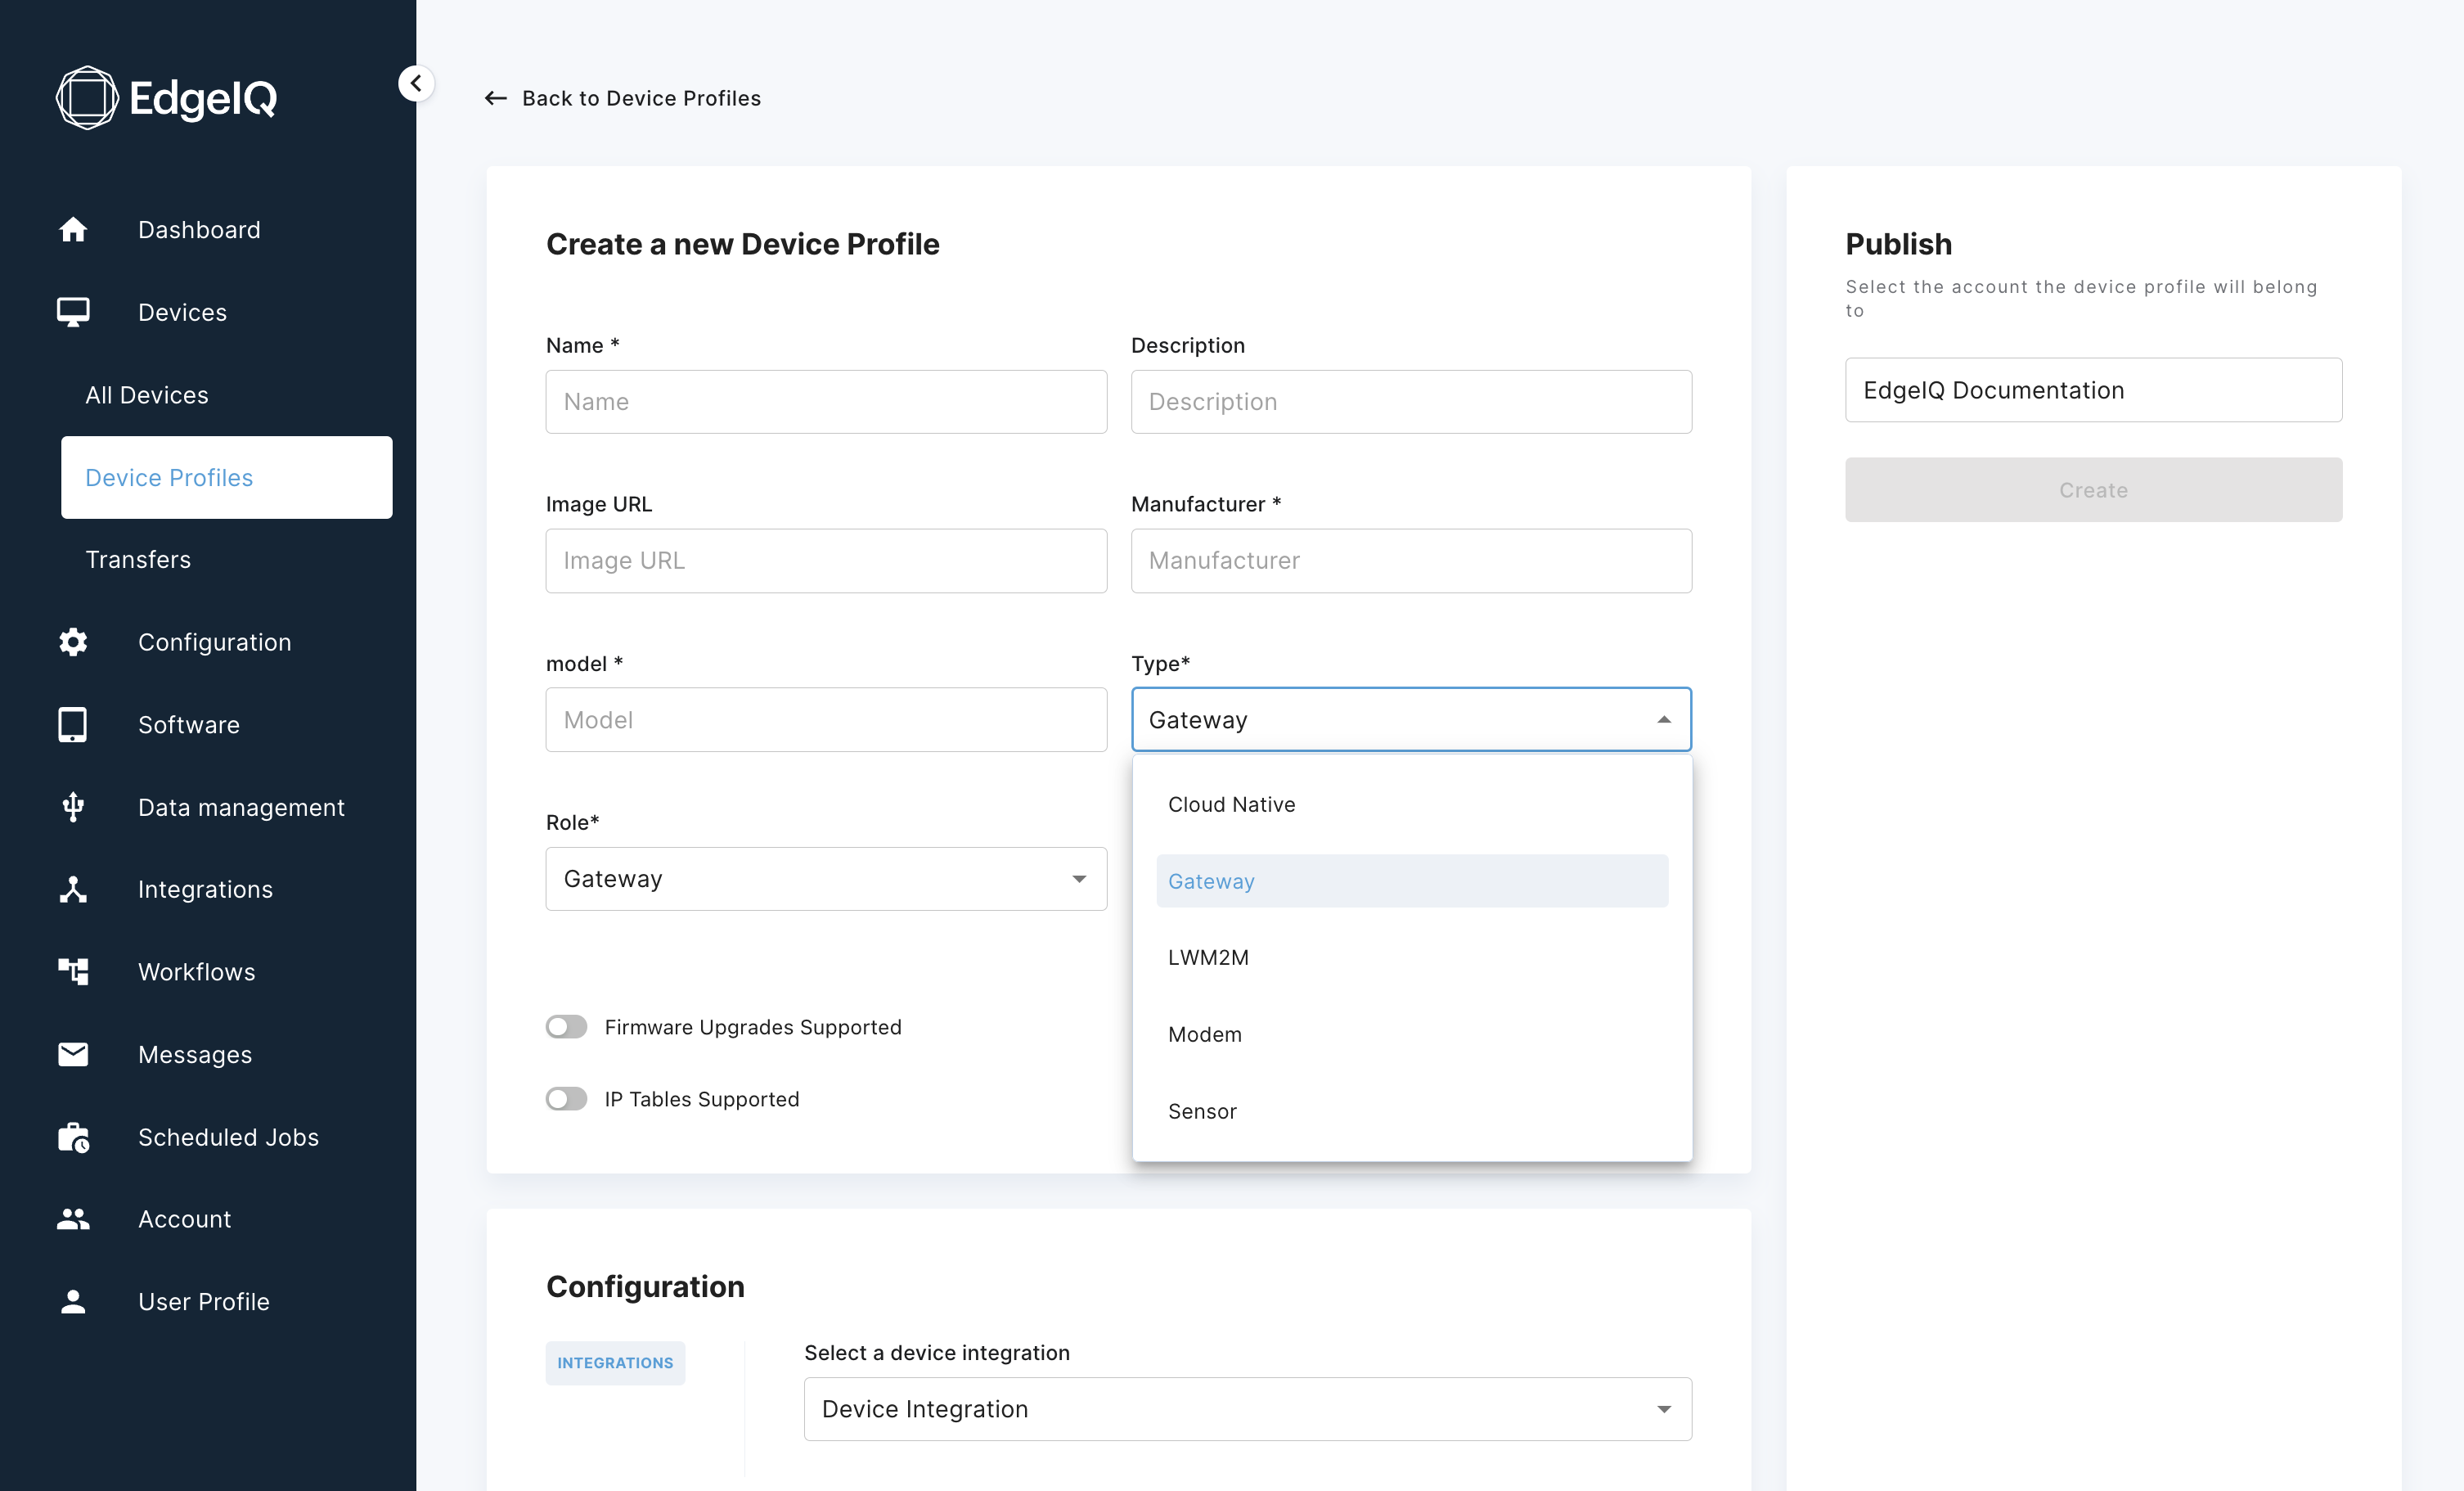
Step 5 — Use the toggle buttons to enable or disable support for firmware upgrades and/or IP tables network configuration.
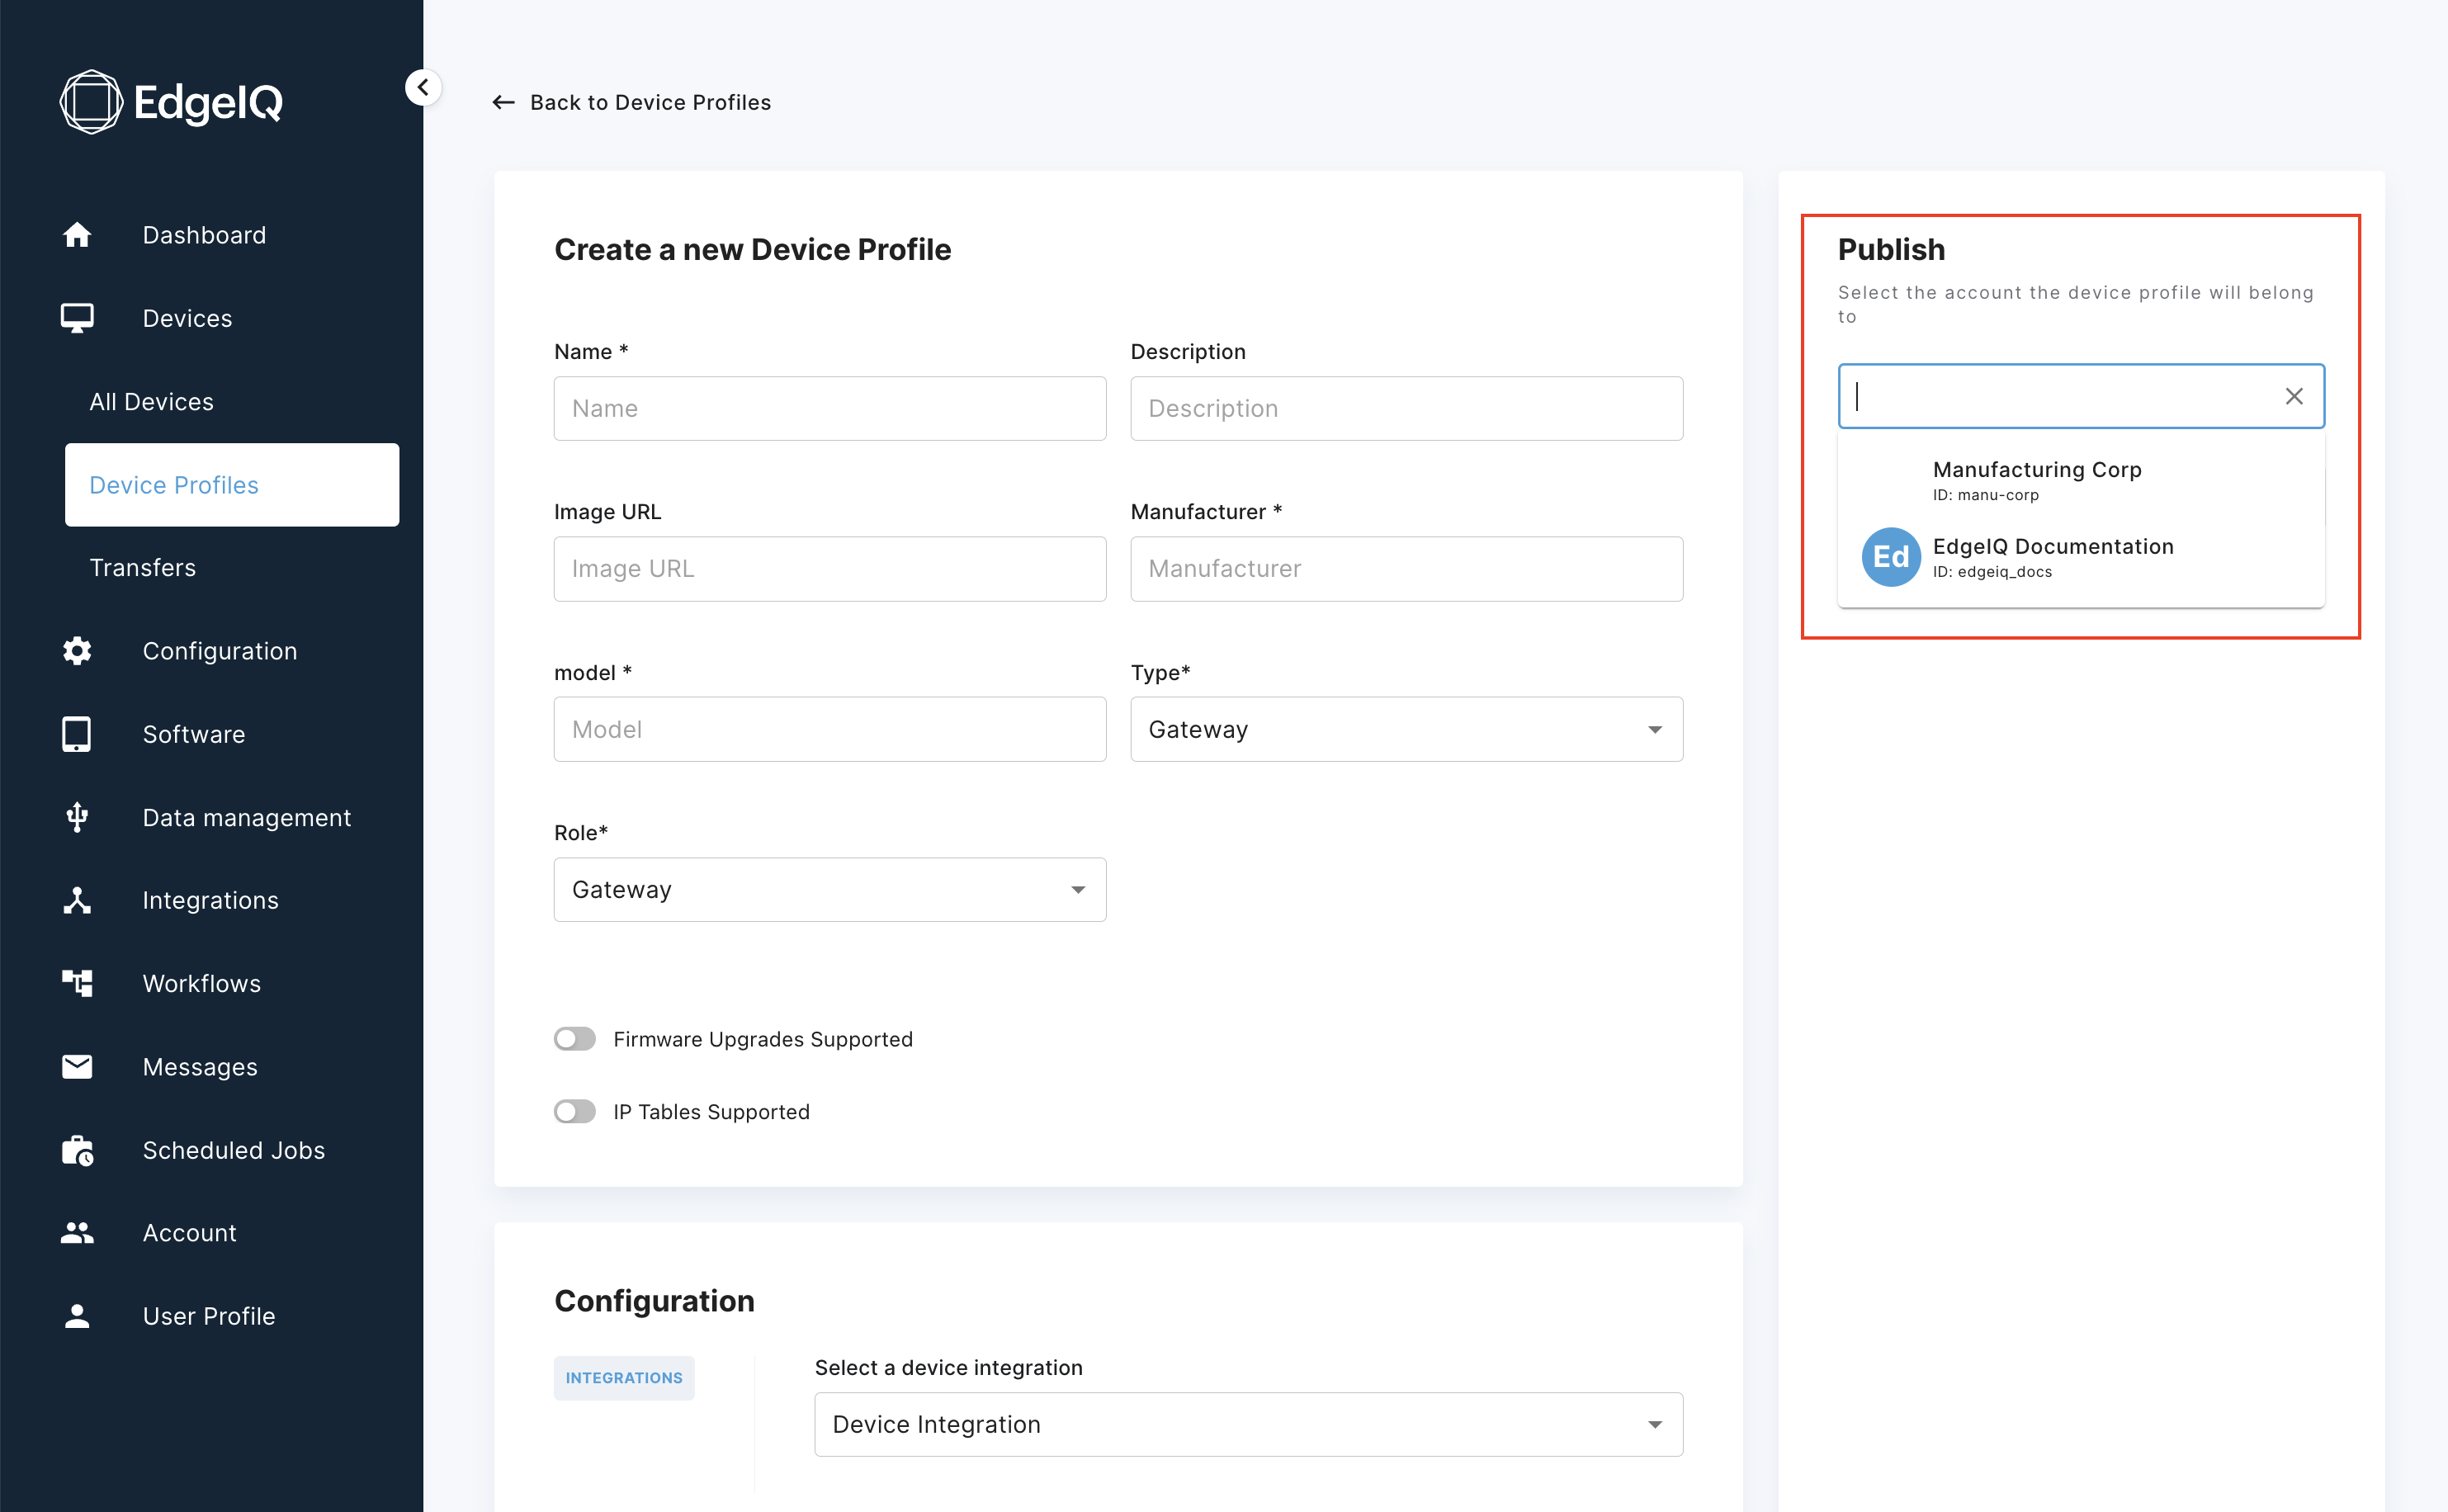
Step 6 — Click the Create button to add a device profile. If you wish to assign the Type to a different company, select it from the dropdown by clicking the preselected company name. You can type to search for companies. The company selection defaults to your user's company.
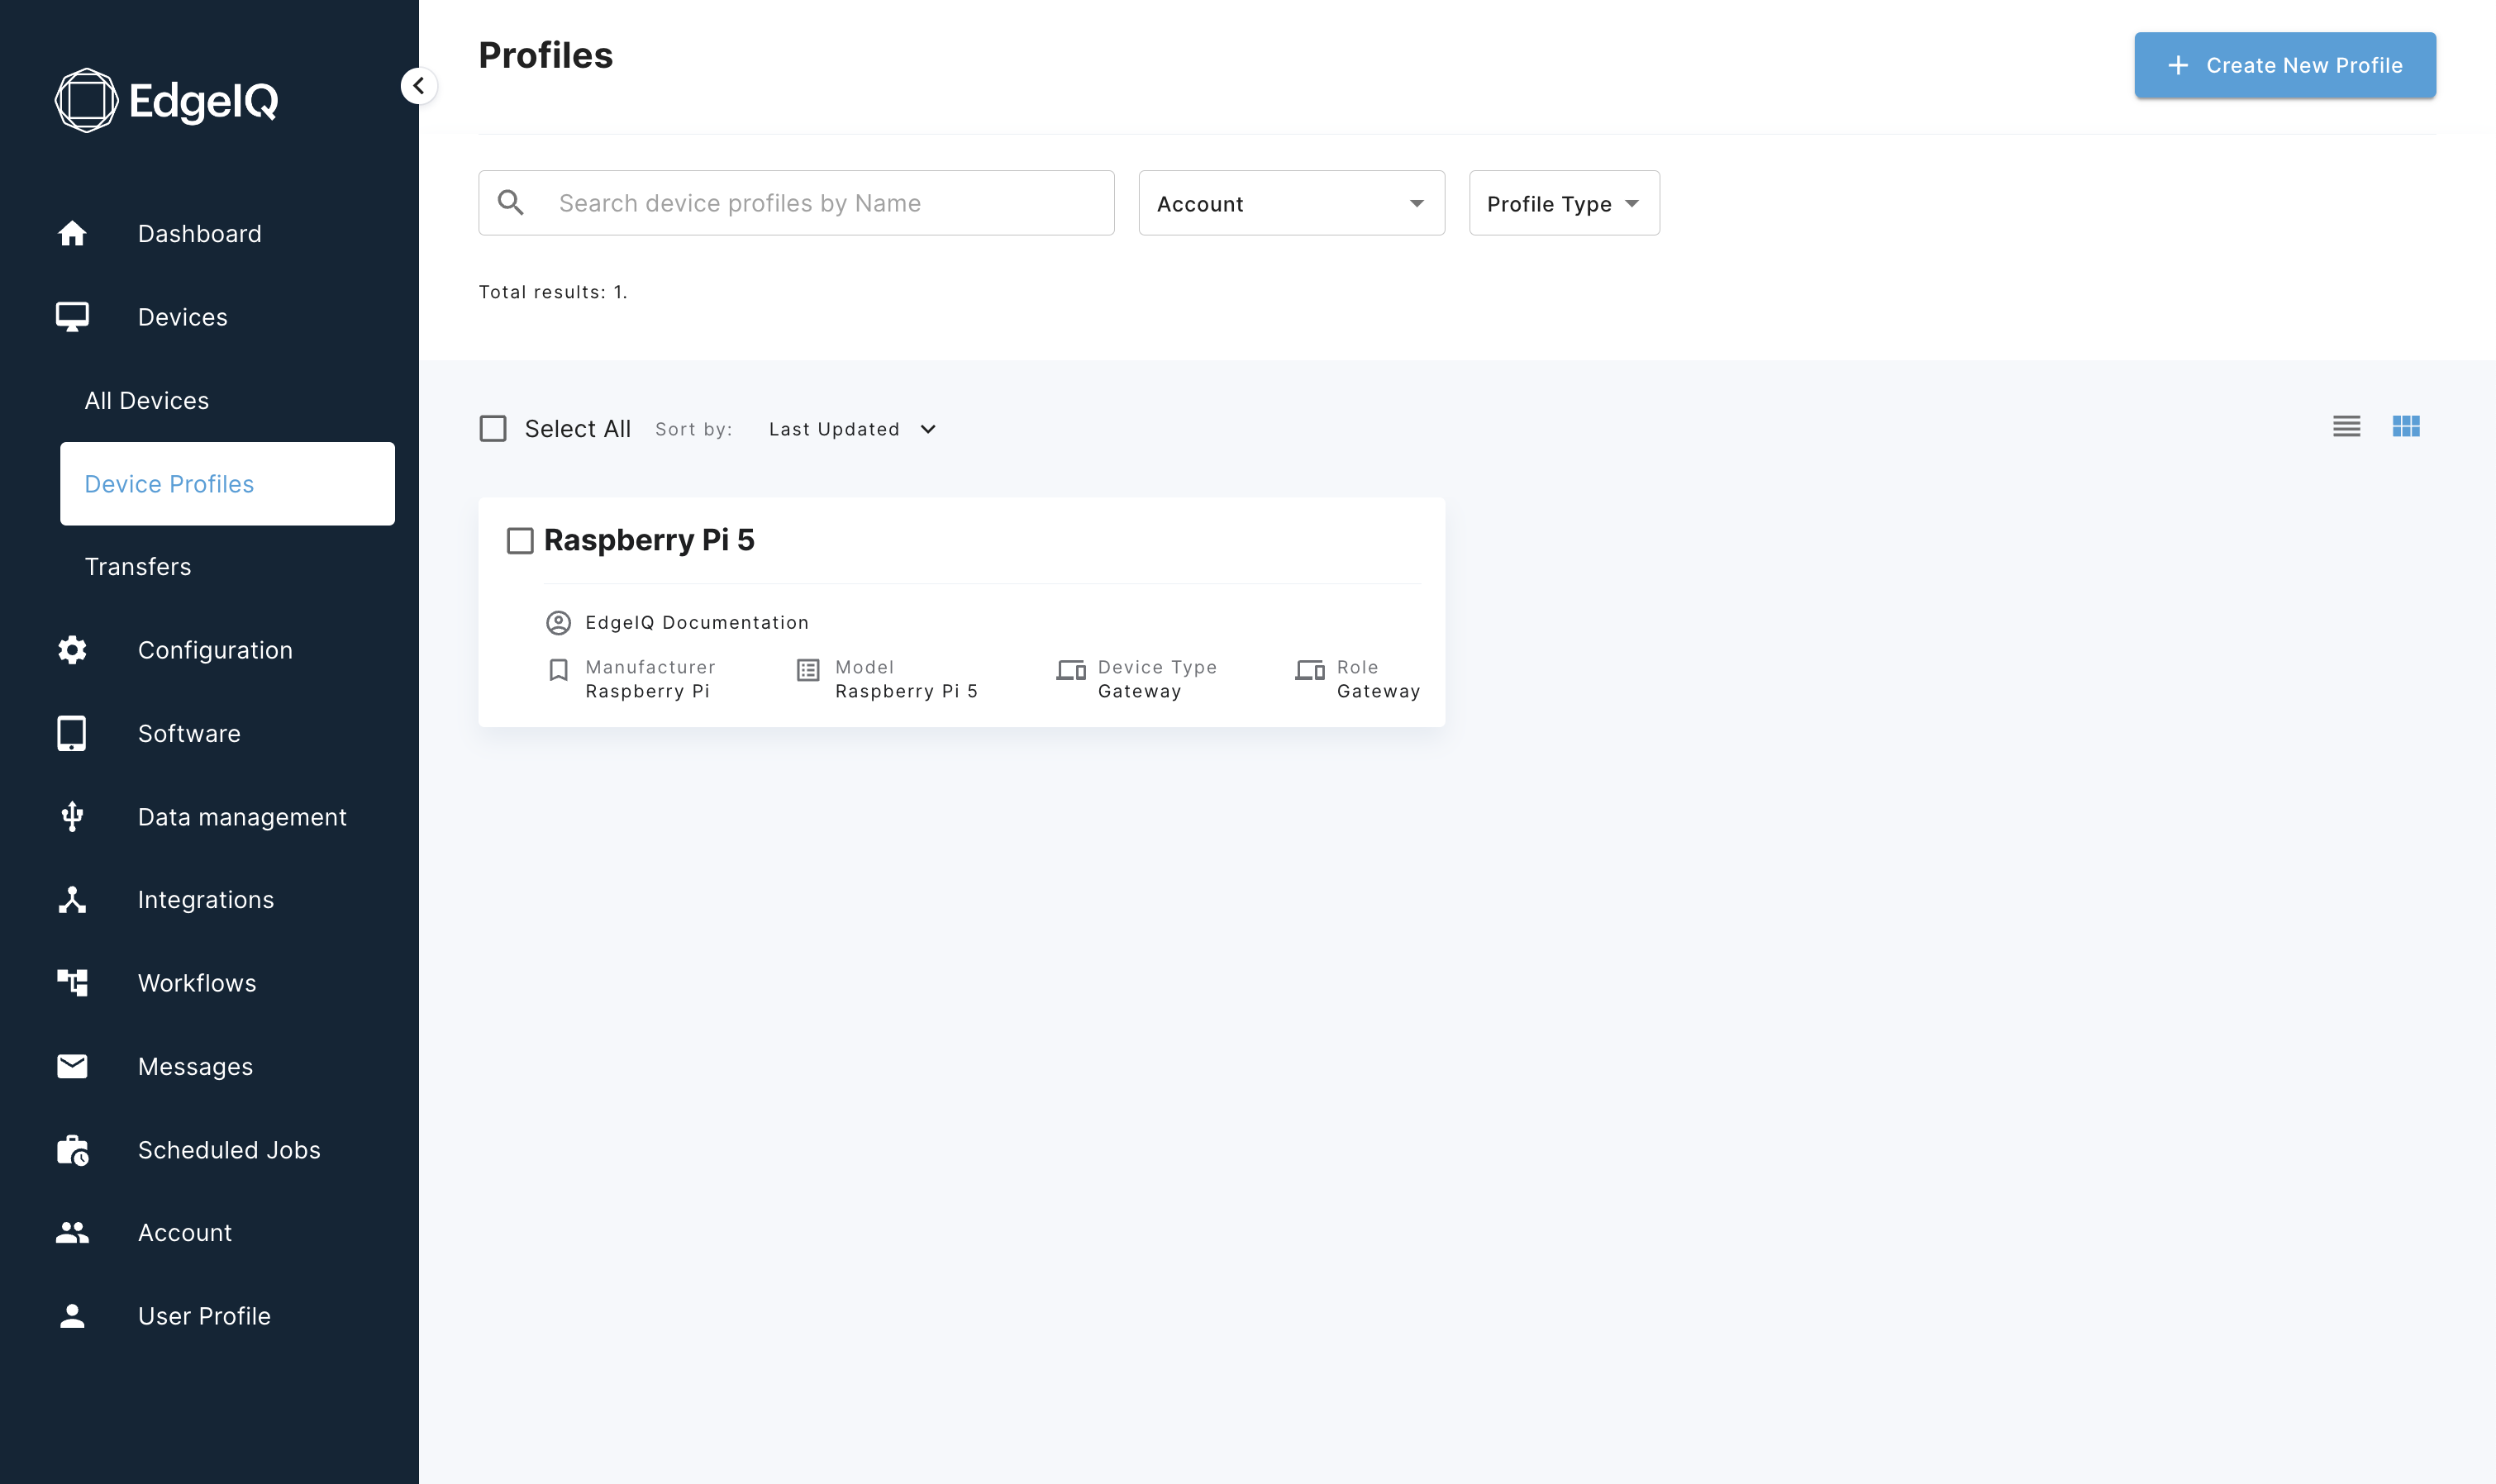
Step 7 — The new device profile will appear on the Device Profile page.
Add a device
Follow the steps below to add a device of the Raspberry Pi 5 type:
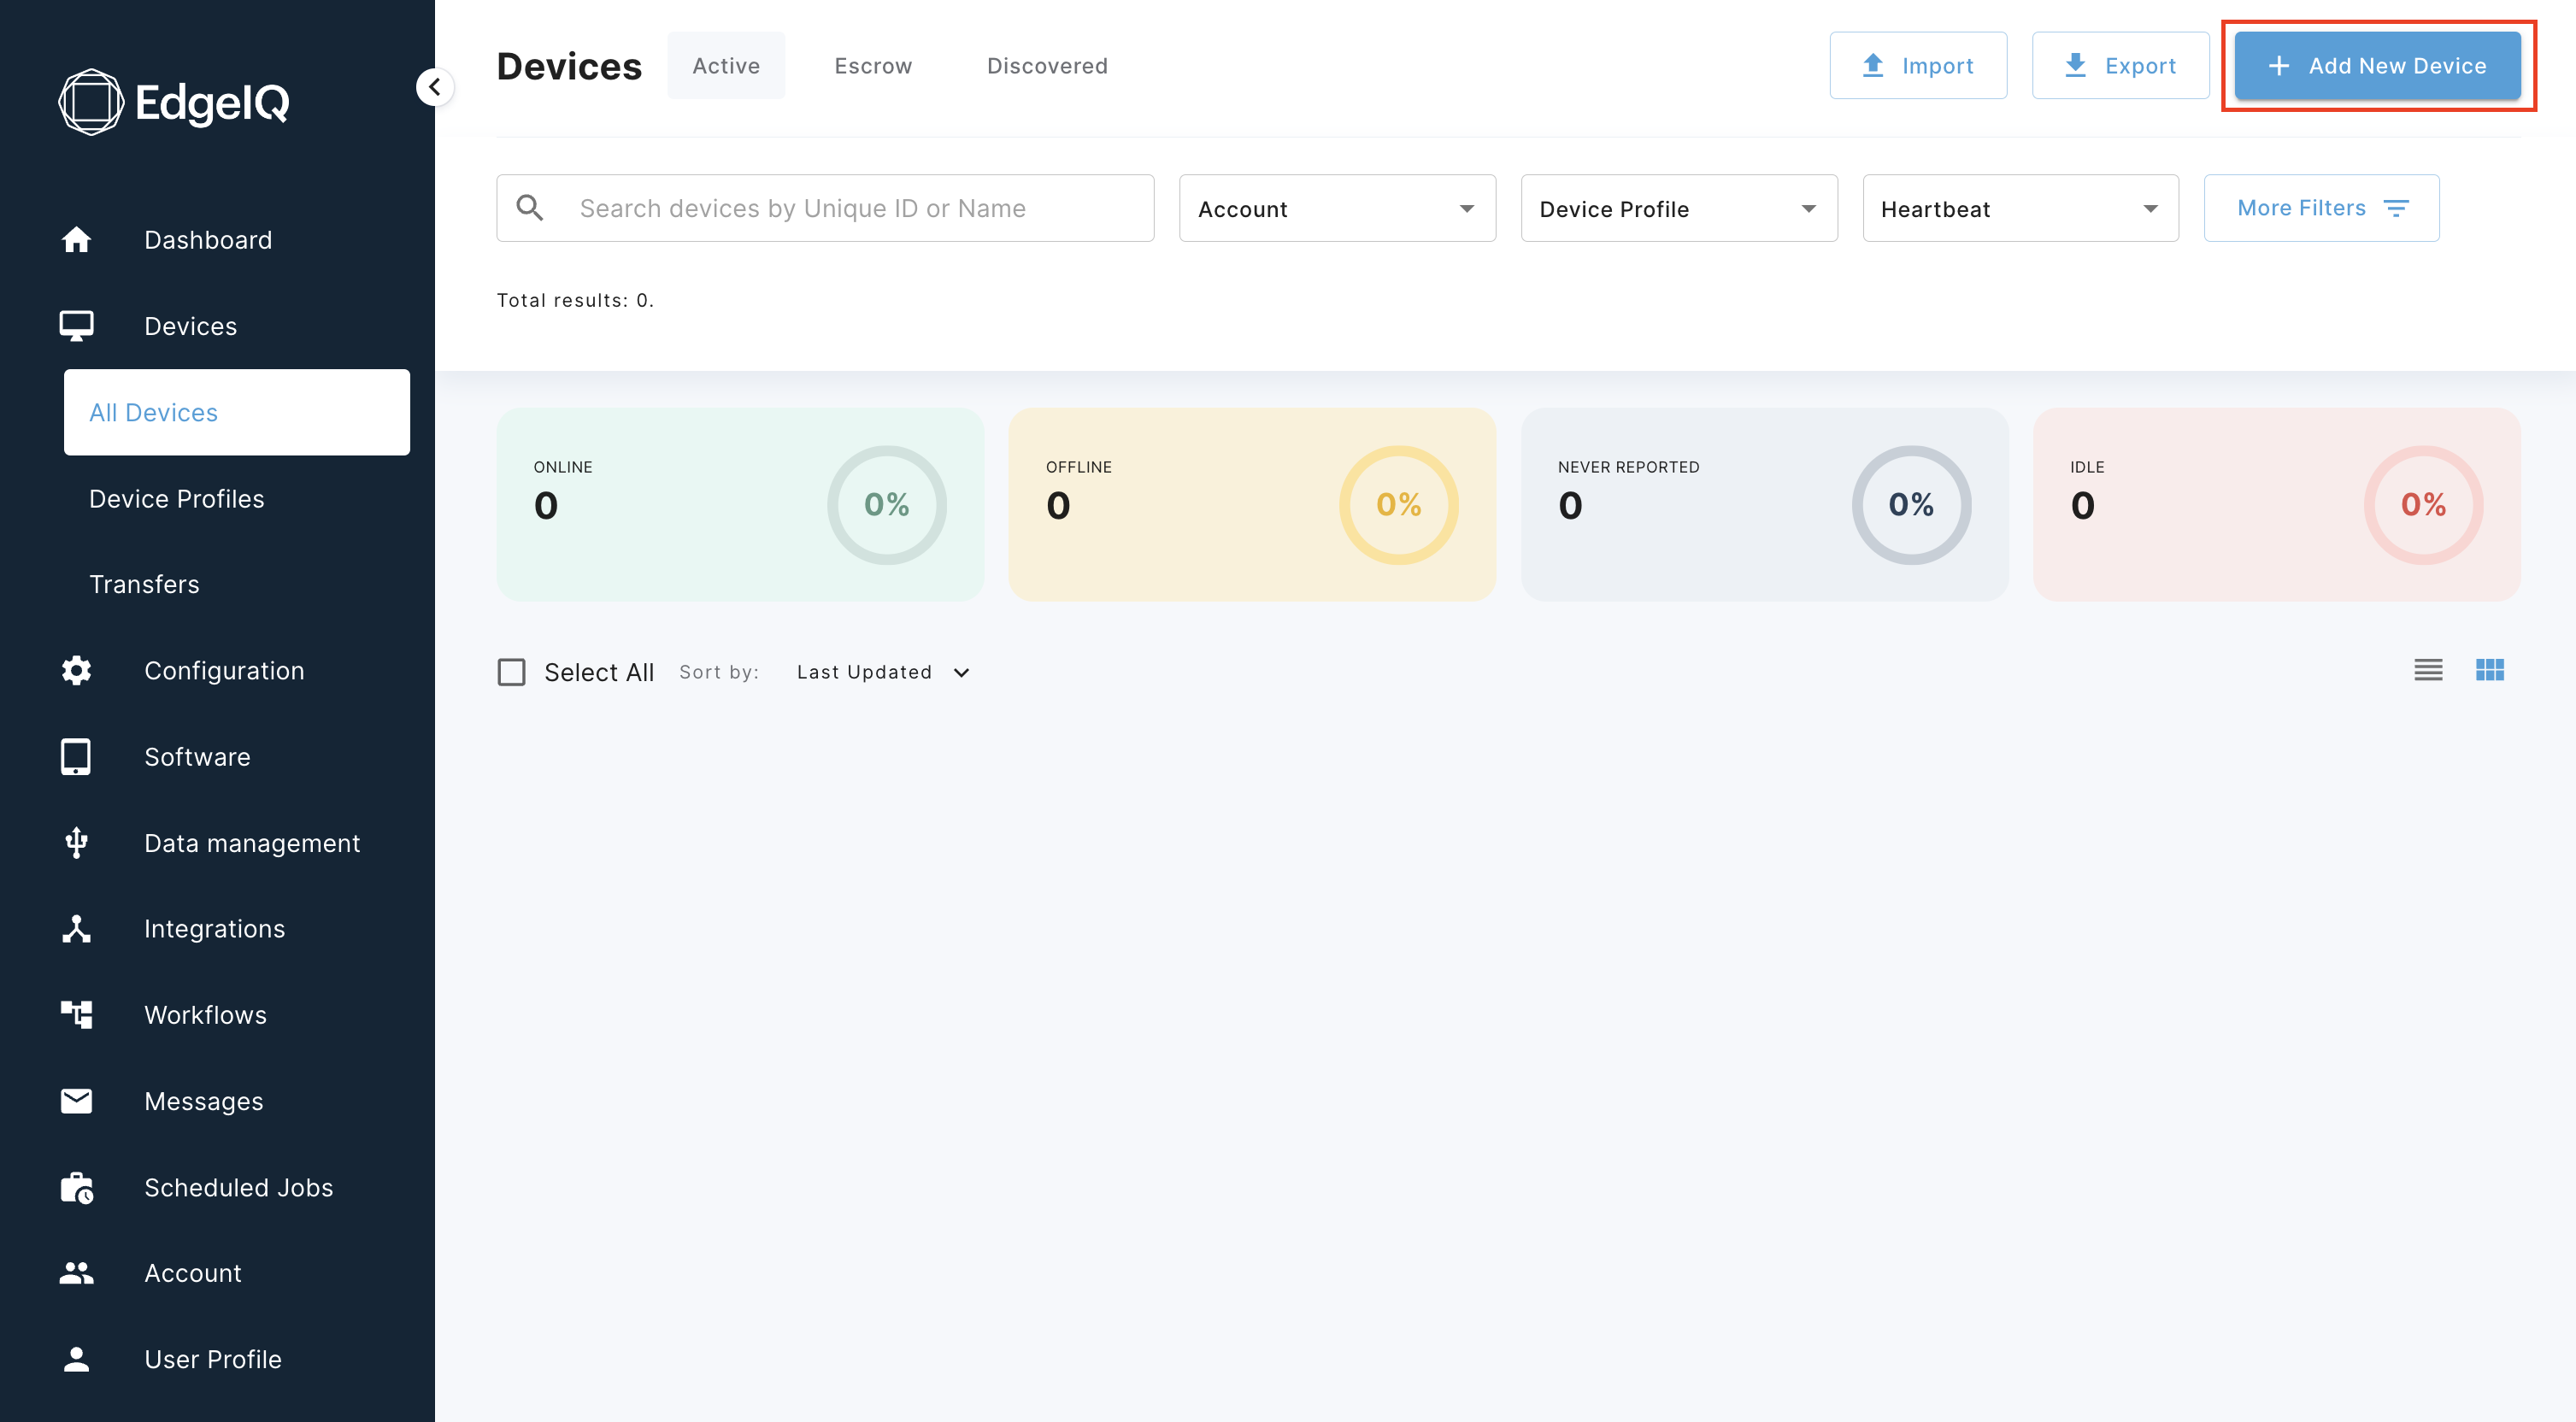
Step 1 — In the menu, navigate to Devices > All Devices.
Step 2 — To add a new device, click the small + button.
Step 3 — Enter a device Name.
Step 4 — Enter a Unique ID.
| ID must be unique: The ID must be unique and is case-sensitive. If you are creating a gateway device and use the default auto-discovered unique ID, the unique ID matches the MAC address of the first identified network interface of the device. |
Step 5 — Optionally, enter a serial number.
Step 6 — Select the previously created device profile (Raspberry Pi 5) from the dropdown menu.
Step 7 — Optional: EdgeIQ Coda clients have a default password set that is used for the first connection. For additional security, you can choose to set a password. The recommended and highest level of security is offered through certificate-based authentication.
We will use username-password authentication with the default password in this guide.
Step 8 — Optional: Under the Configuration section, additional parameters can be set, for example, the heartbeat frequency and the reported data, or additional integrations and policies associated with this device.
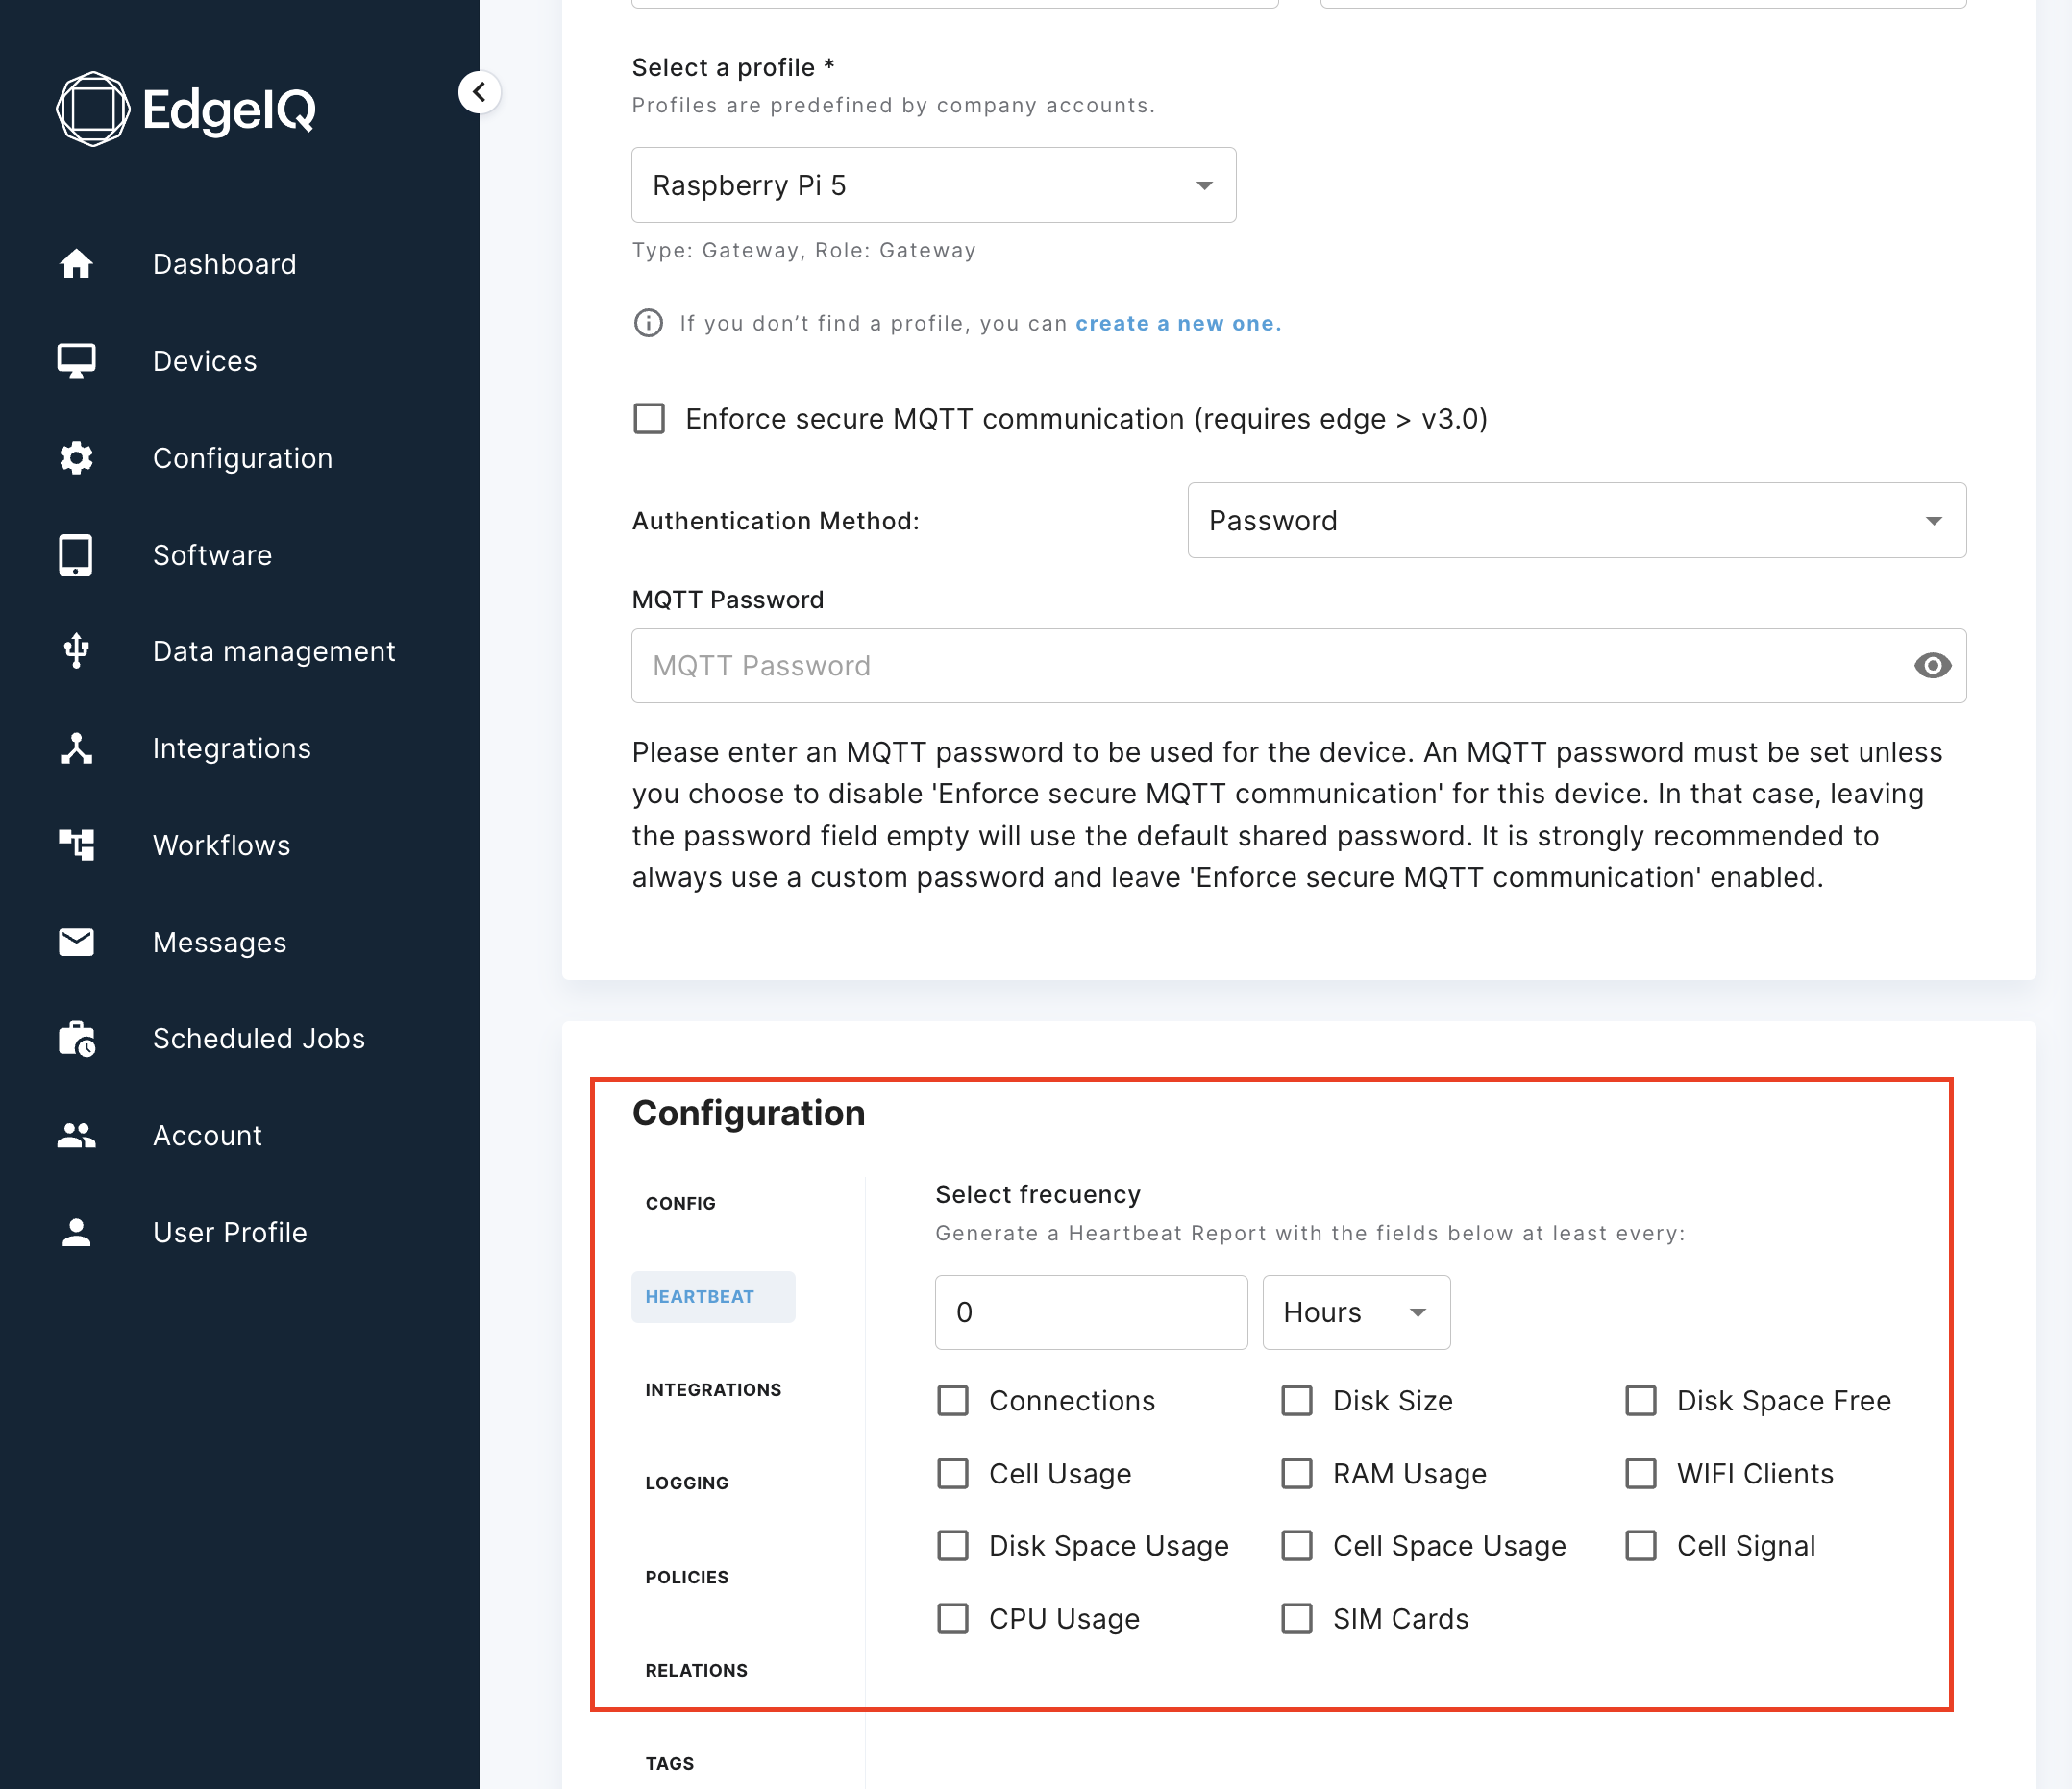
Heartbeat FrequencyBy default, the heartbeat frequency is set to 0, so the device is not sending heartbeats to reduce data consumption.
A good default for heartbeat frequency is 1 hour, but it is configurable in any interval (seconds, minutes, hours, days).
Step 9 — Keep the default company or select a company in the Publish sidebar. Click Create to create the device.
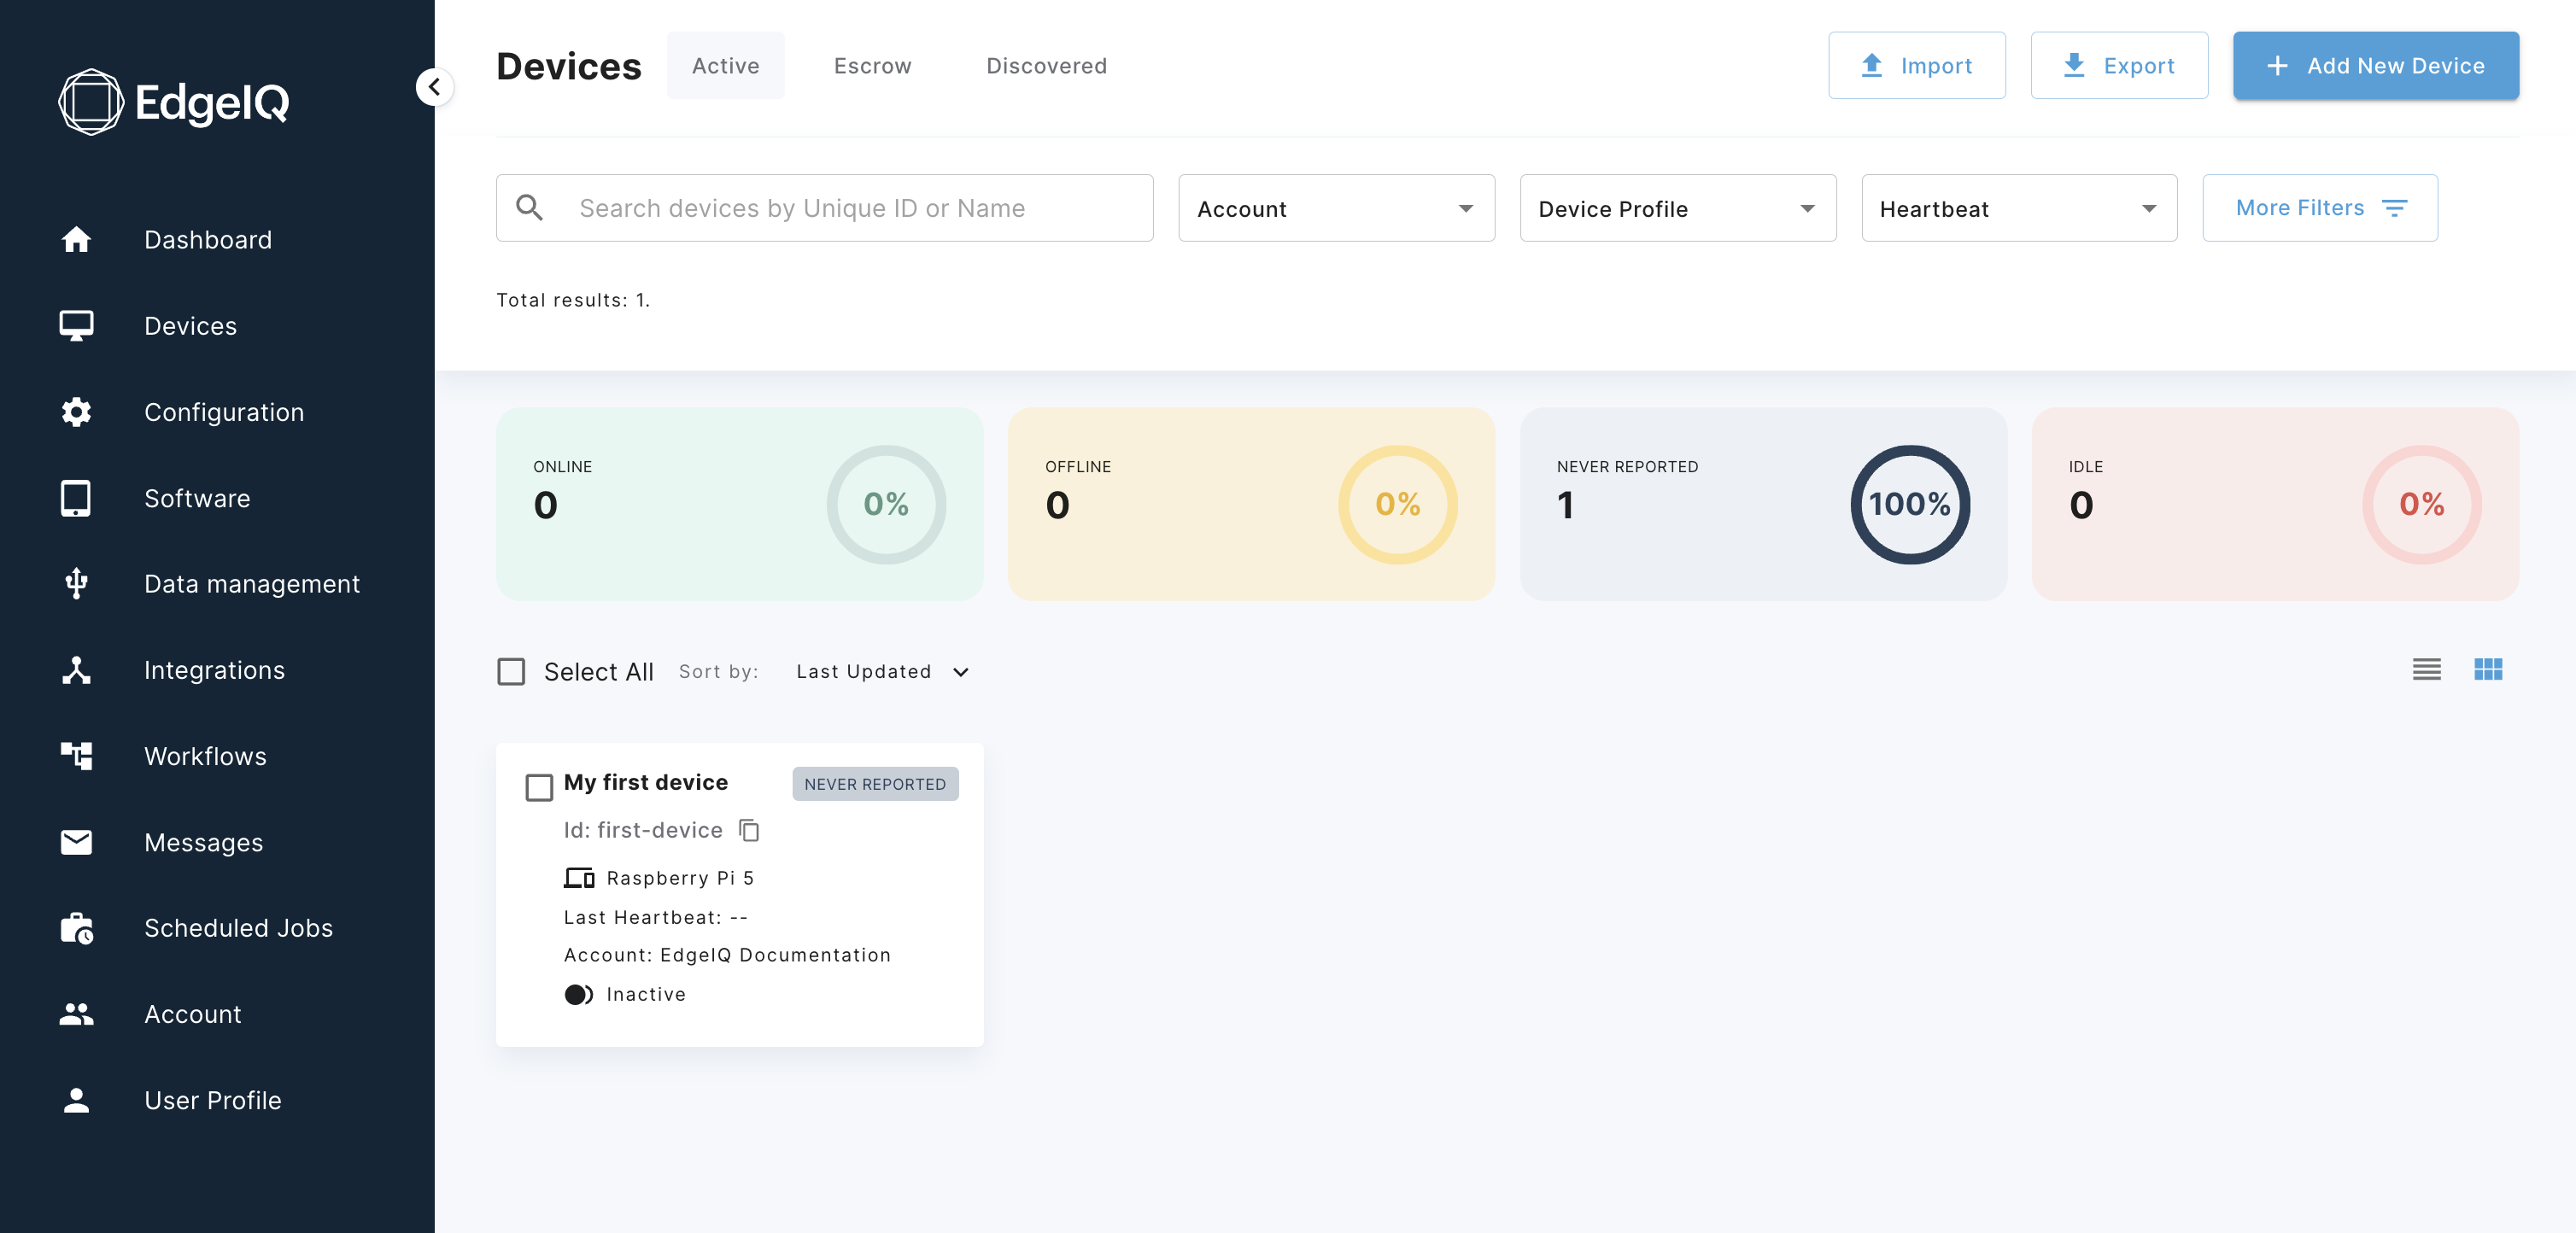
You should be redirected to the All Devices page where you will see your newly created device.
Now that you've seen an overview of how to create a gateway device, you can see the complete process in Onboard your first device.
If you prefer, you can learn how to Install the Edge Local Service.
Updated 11 months ago